March 30, 2026, 09:00
How to navigate your Creator Store dashboard
Justine Wheeler
Once your Creator Store is set up, everything you need lives in one place: your dashboard.
Here’s how to use it like a pro 👇
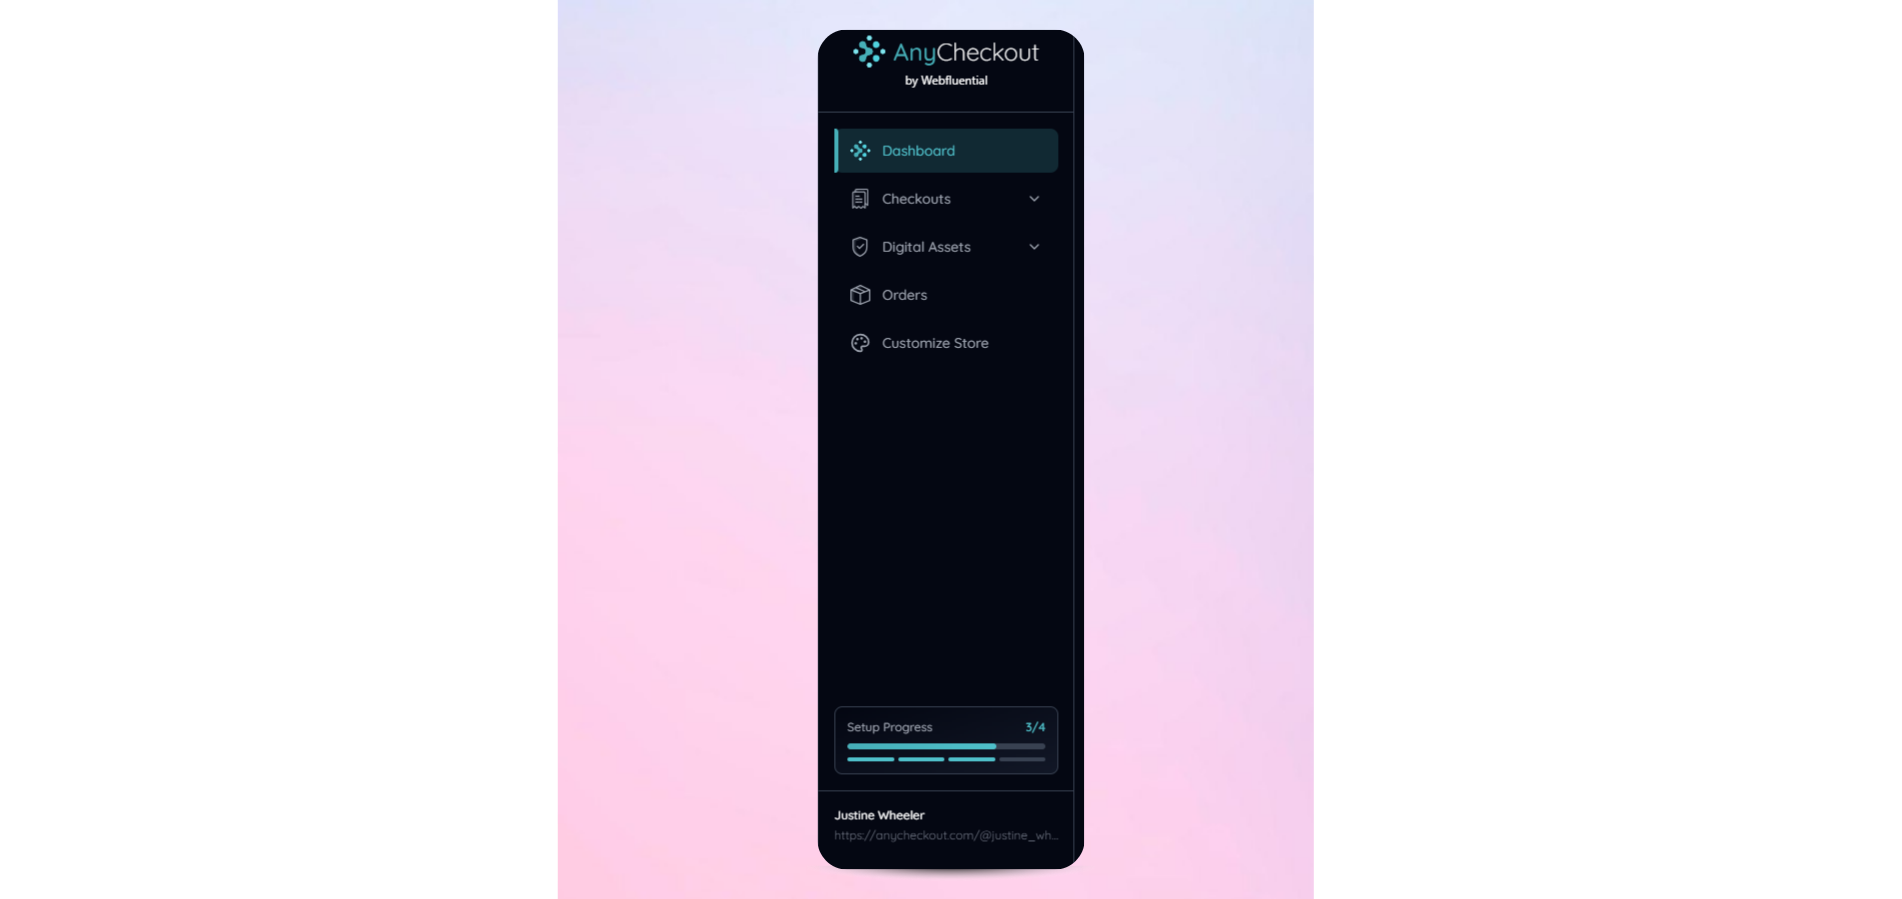
Your Main Menu (Quick Overview)
This is your control panel where you manage products, sales and your storefront.
What you’ll see:
- Dashboard
- Checkouts
- Digital Assets
- Orders
- Customise Store
- Your store link (bottom left)
Let’s break each one down 👇
Dashboard: Your Creator Store at a glance
This is your home base.
What you can do here:
- Track your setup progress
- Jump into key actions quickly
- Access your store link instantly
💡 Think of this as your “mission control” with quick access and quick insights.
Digital Assets: Your product library
This is where your actual content lives.
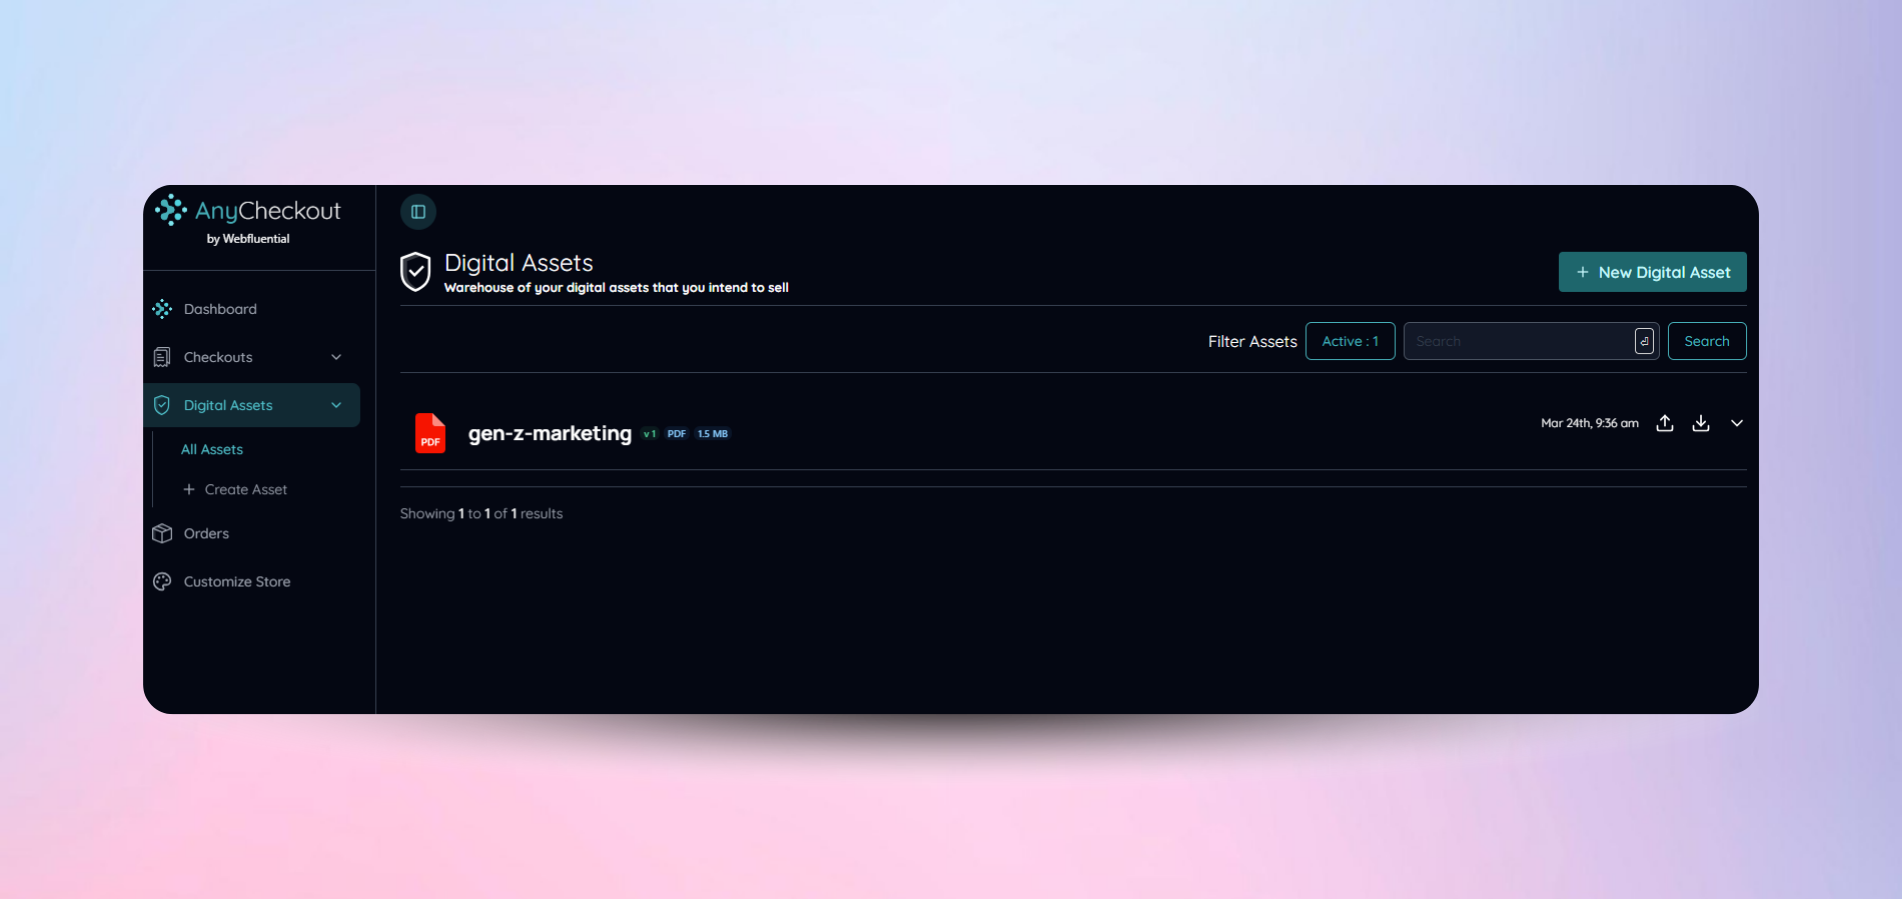
Here you can:
- Upload files (PDFs, guides, templates, etc.)
- Manage and organise your products
- Reuse assets across multiple checkouts
💡 Think of this as your “inventory”.
Checkouts: Create and manage what you sell
This is where your products become buyable.
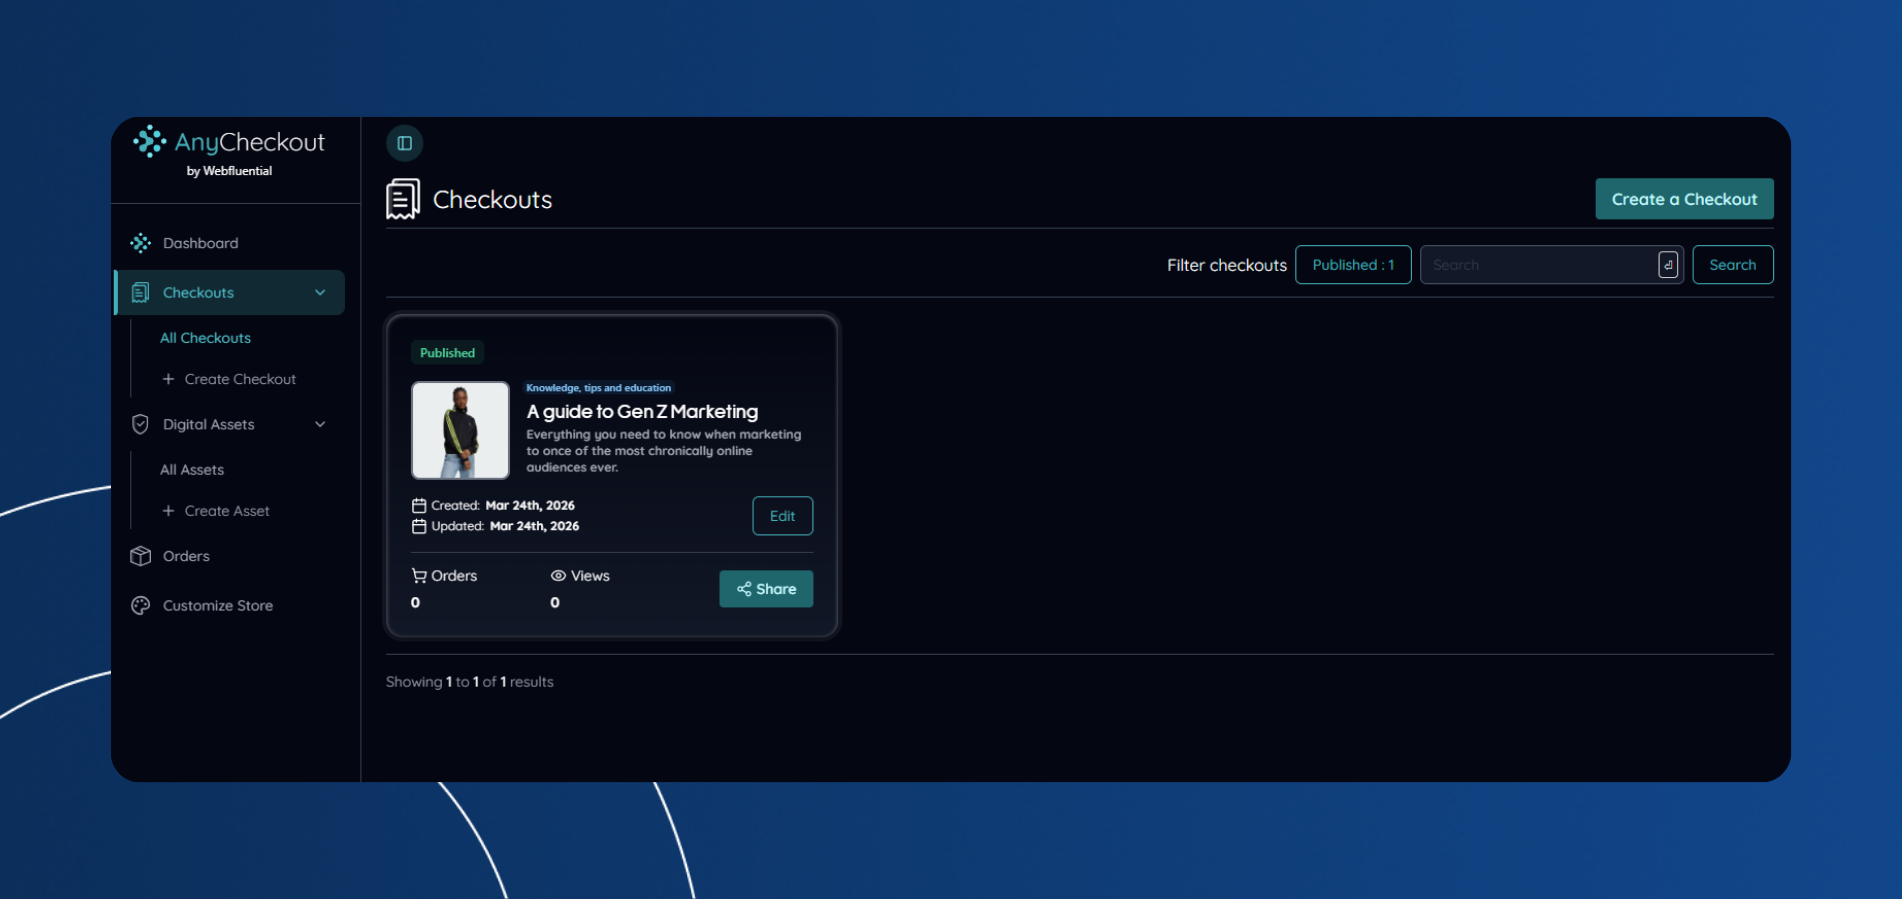
Here you can:
- Create new checkouts
- Edit existing products
- Track:
- Share your checkout links
💡 No checkout = no way to get paid.
Orders: Track your sales
This is where you see results.
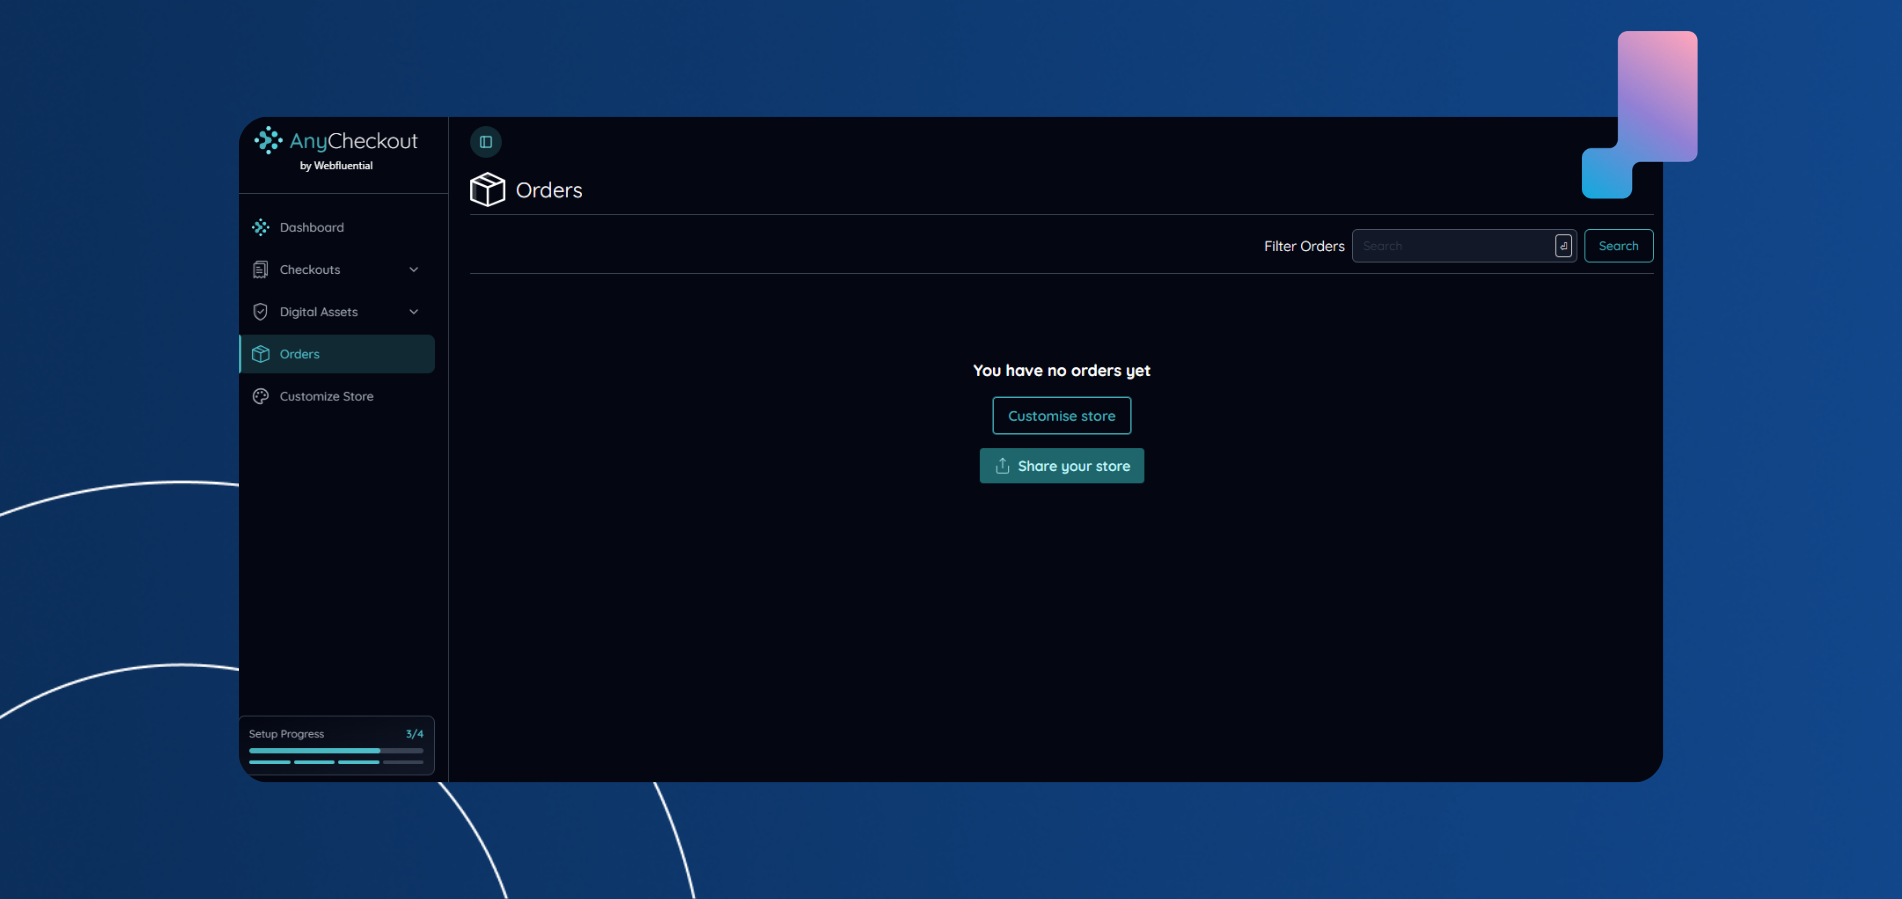
Here you can:
- View all purchases
- Track customer activity
- Monitor your revenue journey
💡 At the start, it may say “no orders yet” - that’s your cue to share your store 👀
Customise Store: Make it yours
This is where your brand comes to life.
You can customise:
- Templates
- Backgrounds
- Card styles
- Fonts
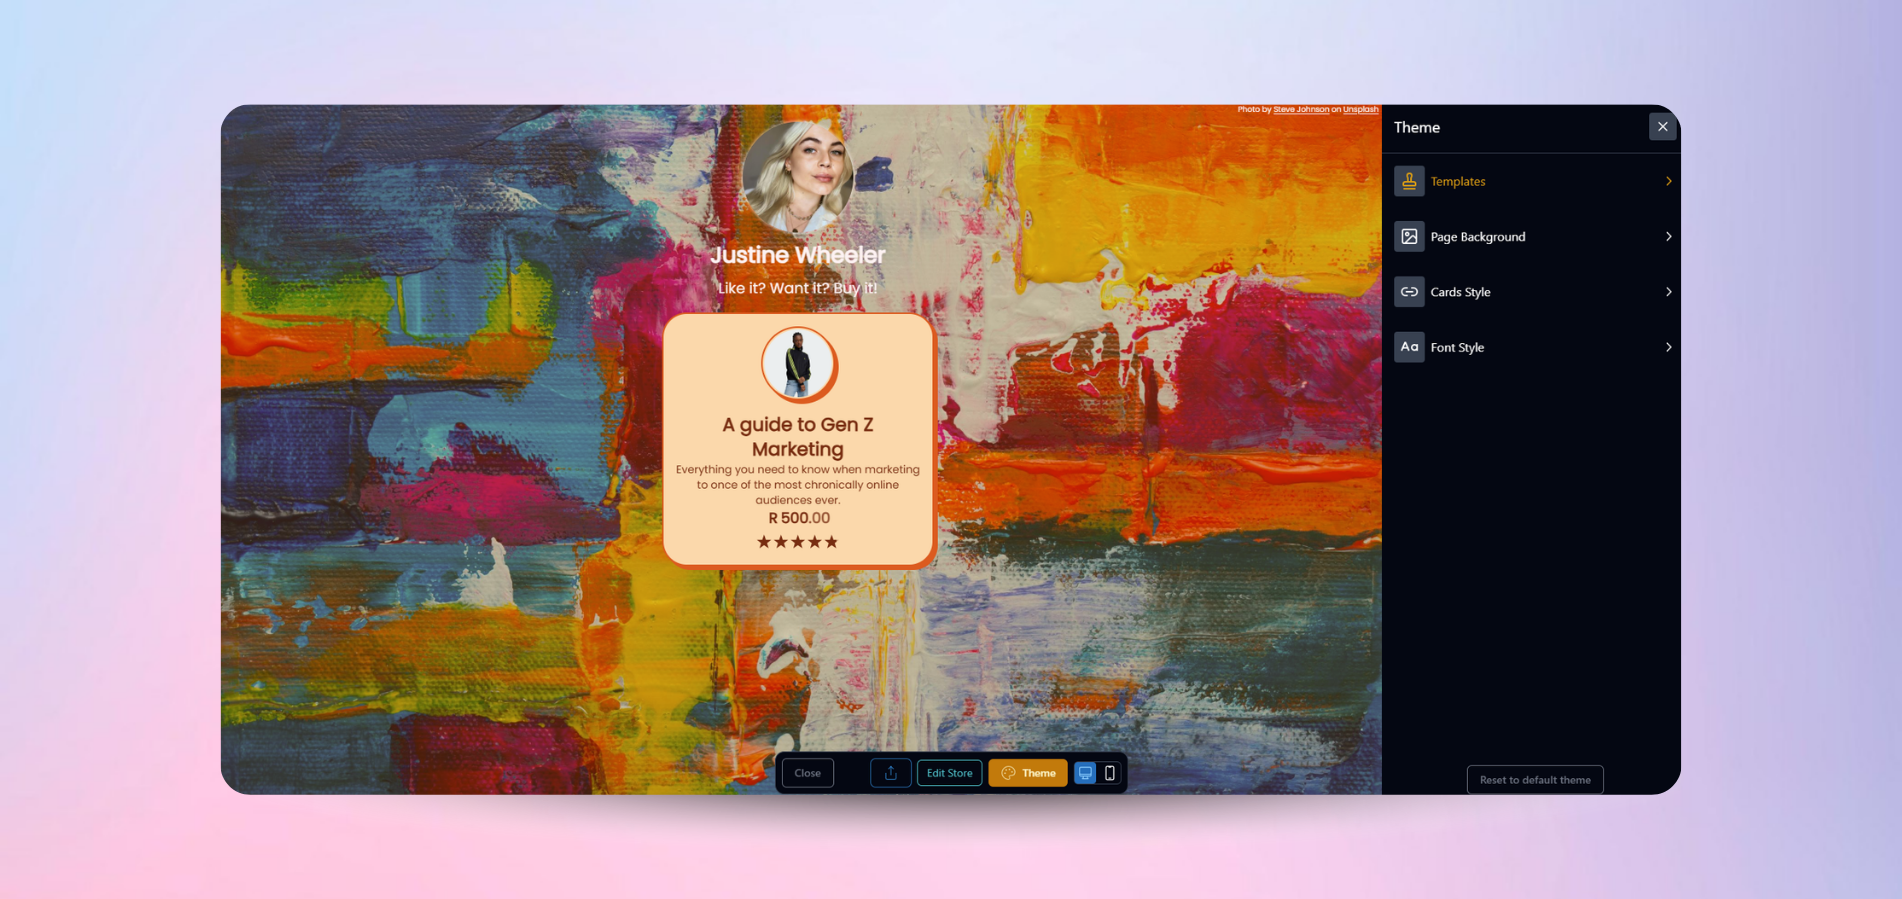
💡 Your store should feel like an extension of your content.
Your Store link: Start driving sales
At the bottom of your menu, you’ll find your storefront link. Simply click on it to copy and share.
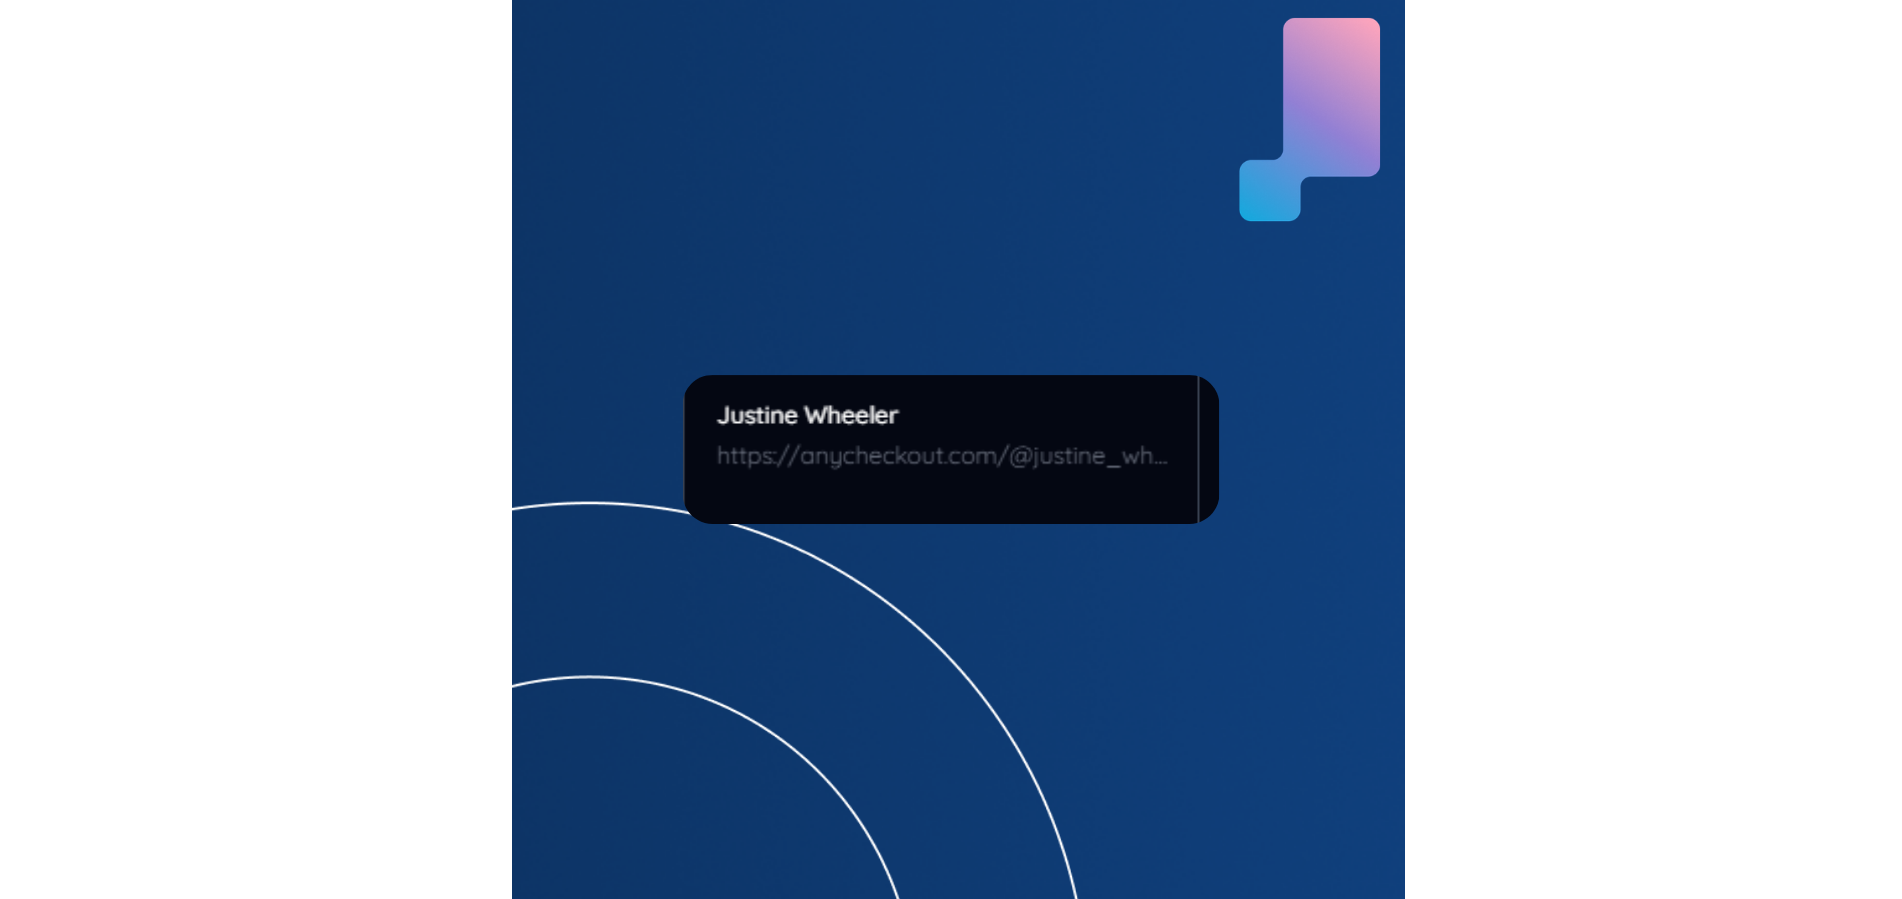
Use it to:
- Add to your bio
- Share on social media
- Send via WhatsApp or email
💡 This link = your income stream.
How it all connects
Here’s the simple flow:
- Upload product → Digital Assets
- Turn it into an offer → Checkouts
- Make it look good → Customise Store
- Share it → Store Link
- Track results → Orders
Join Webfluential and start growing your business
From micro enterprises to Fortune 500 companies, brands from over 130 countries have booked influencers on Webfluential.