March 30, 2026, 09:00
How to set up your Creator Store on Webfluential
Justine Wheeler
Turn your knowledge, content and creativity into income - all in a few simple steps.
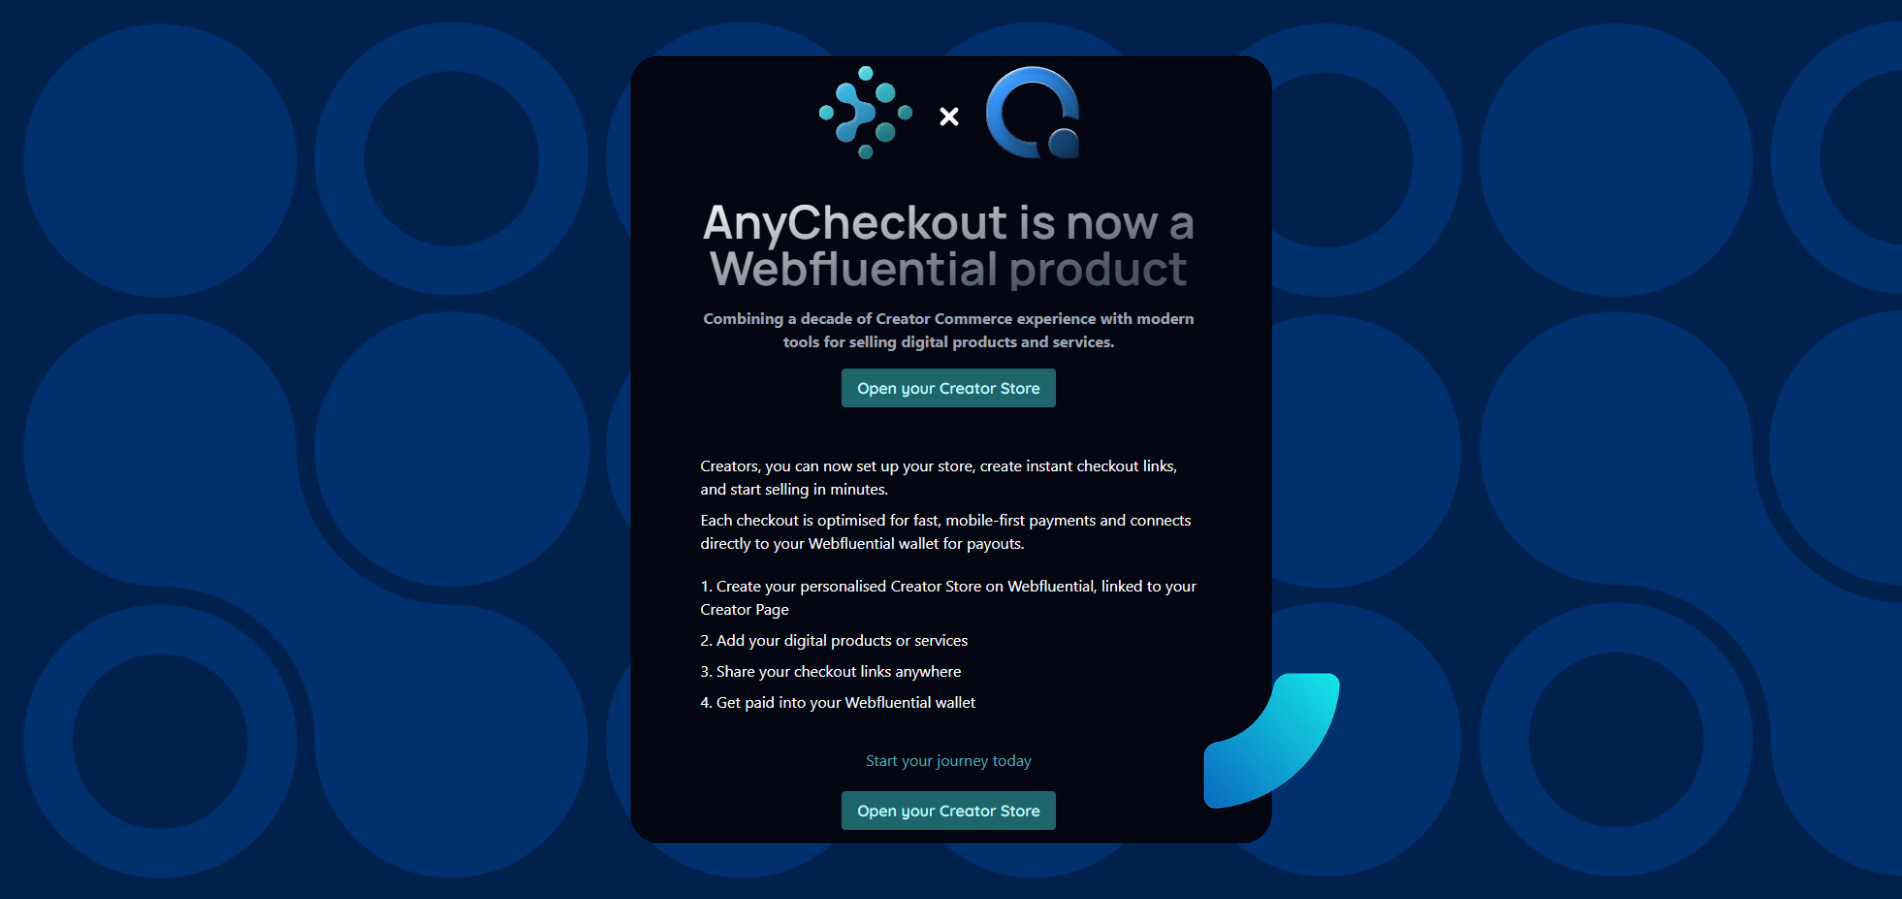
With Creator Store (powered by AnyCheckout), you can sell digital products, services, and experiences directly to your audience - no complex setup, no tech overwhelm.
Let’s walk through it step-by-step.
Note: these steps are applicable to users with a Creator page registered on Webfluential.
Step 1: Open your Creator Store
This is your storefront - your digital “home” where everything lives.
- Add your store name
- Create your custom URL
- Write a short bio/about section
Think of this as your positioning:👉 What do you want people to buy from you for?
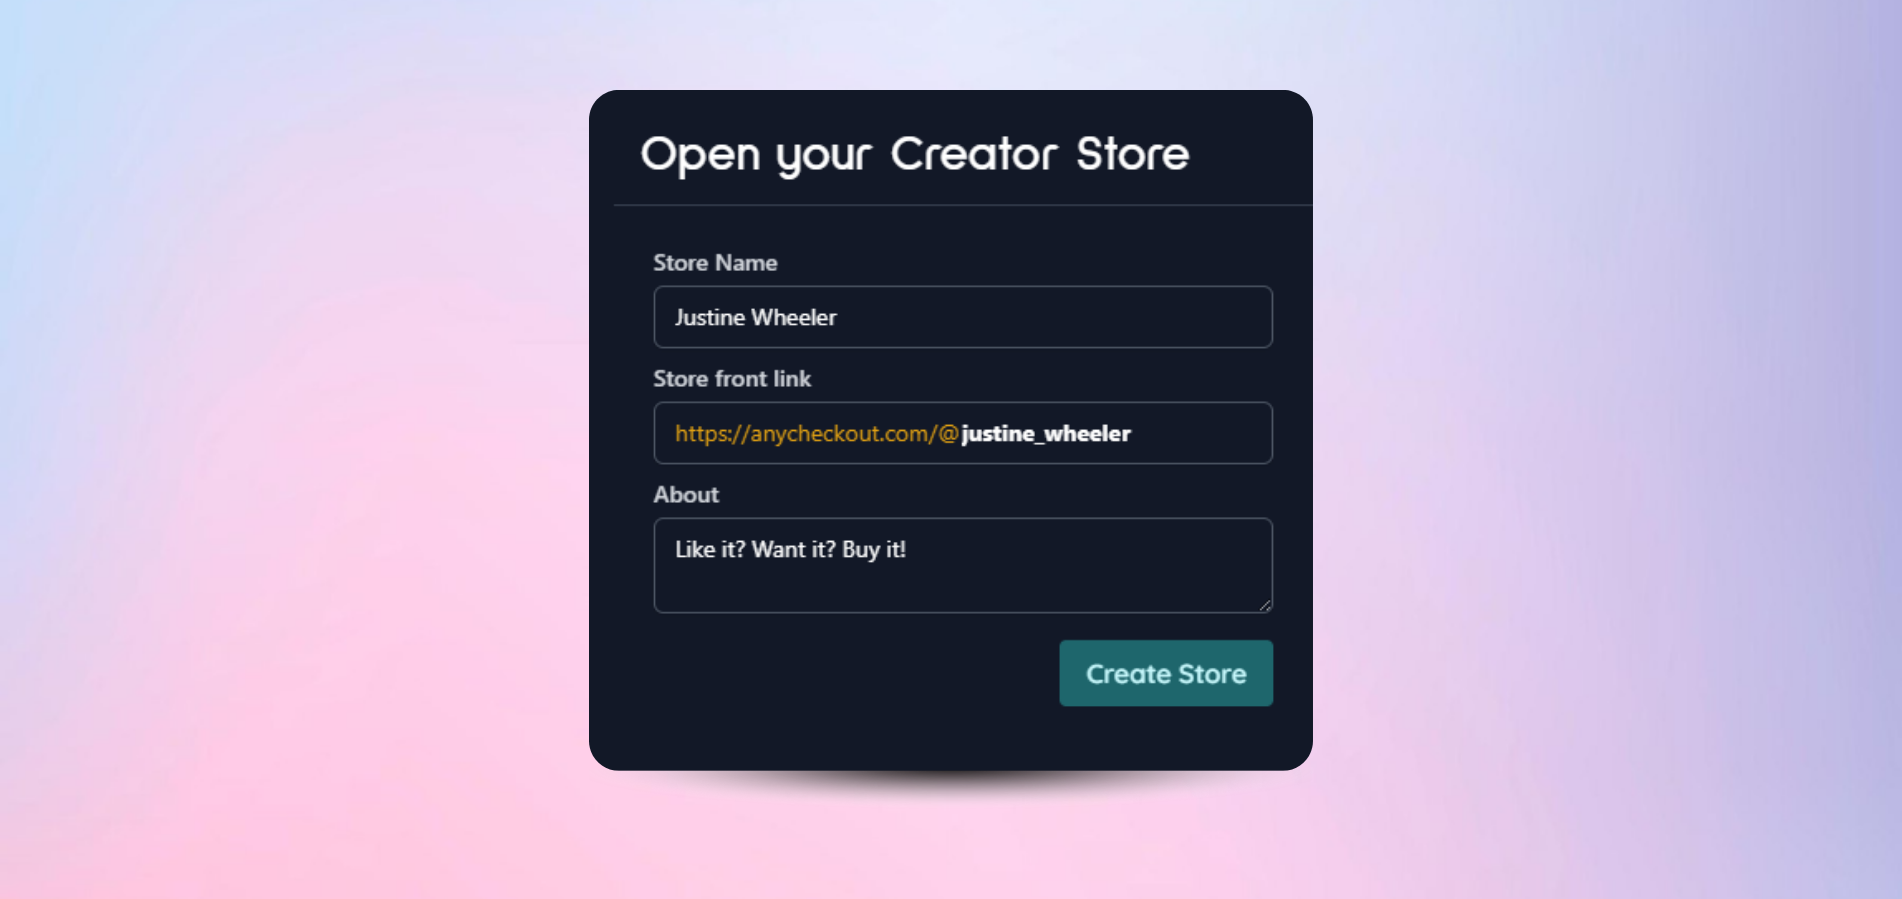
💡 Pro tip: Keep your bio punchy and benefit-driven. Example: “Helping creators turn content into income.”
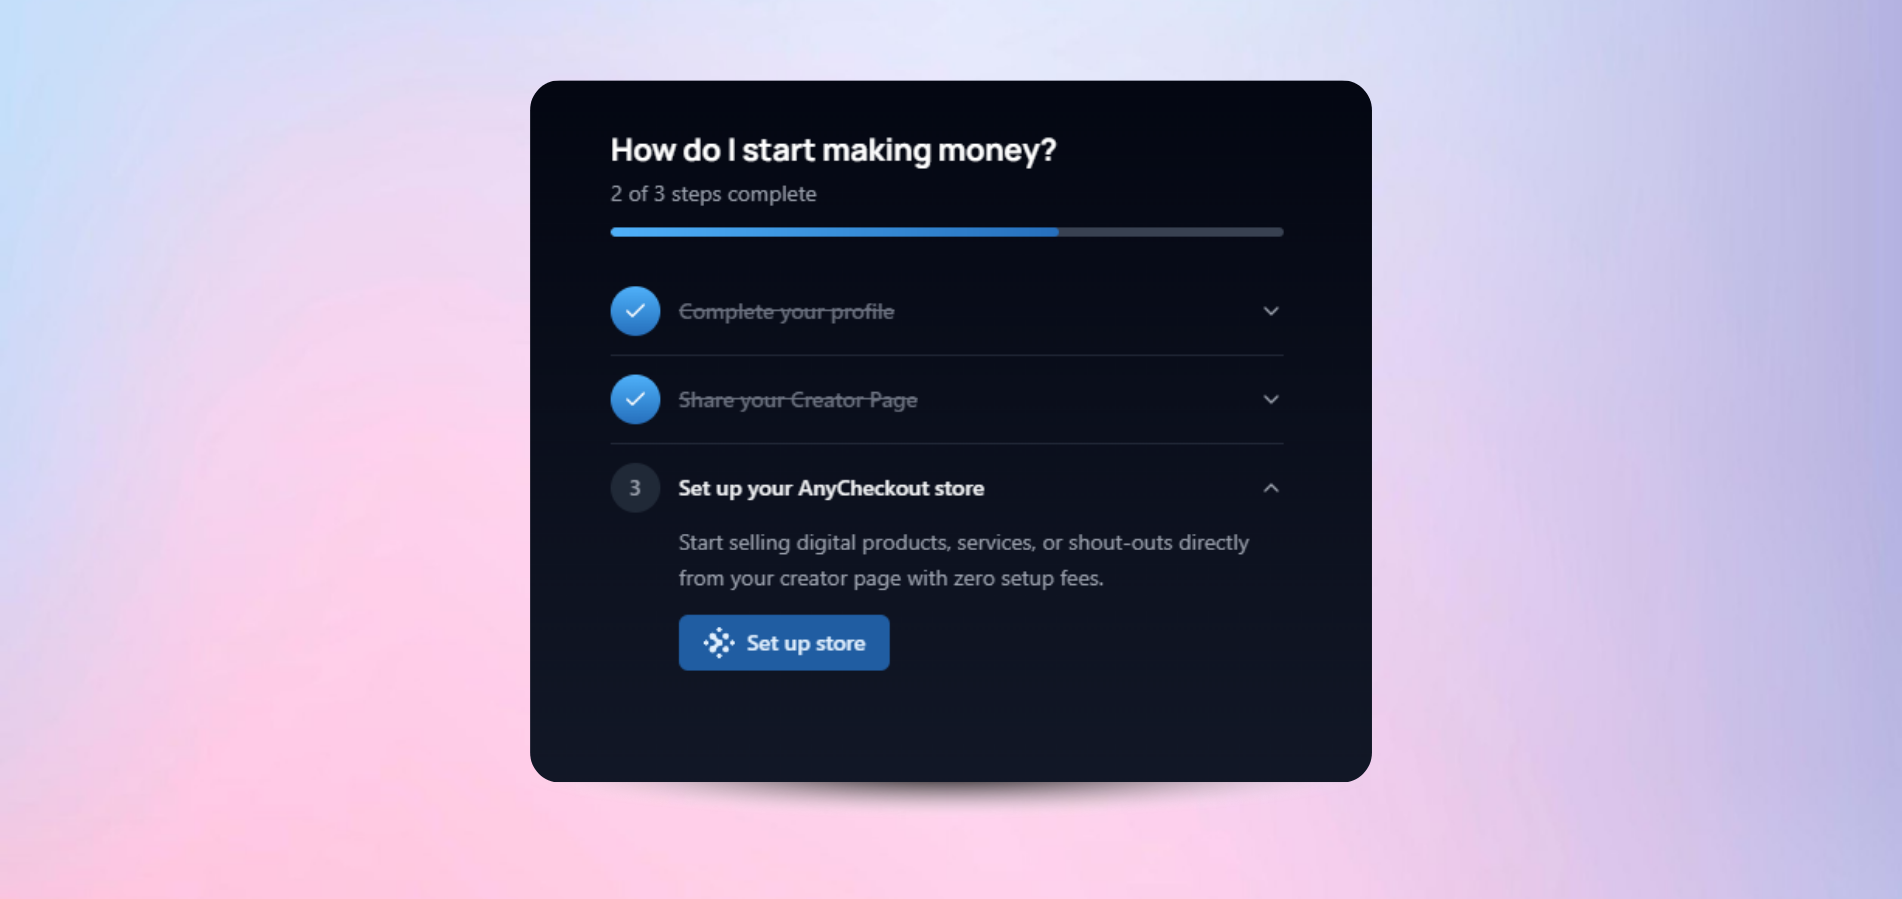
Step 2: Get ready to sell
Once inside your dashboard, you’ll see your setup guide.
This walks you through:
- Adding your first product
- Creating a checkout
- Customising your store
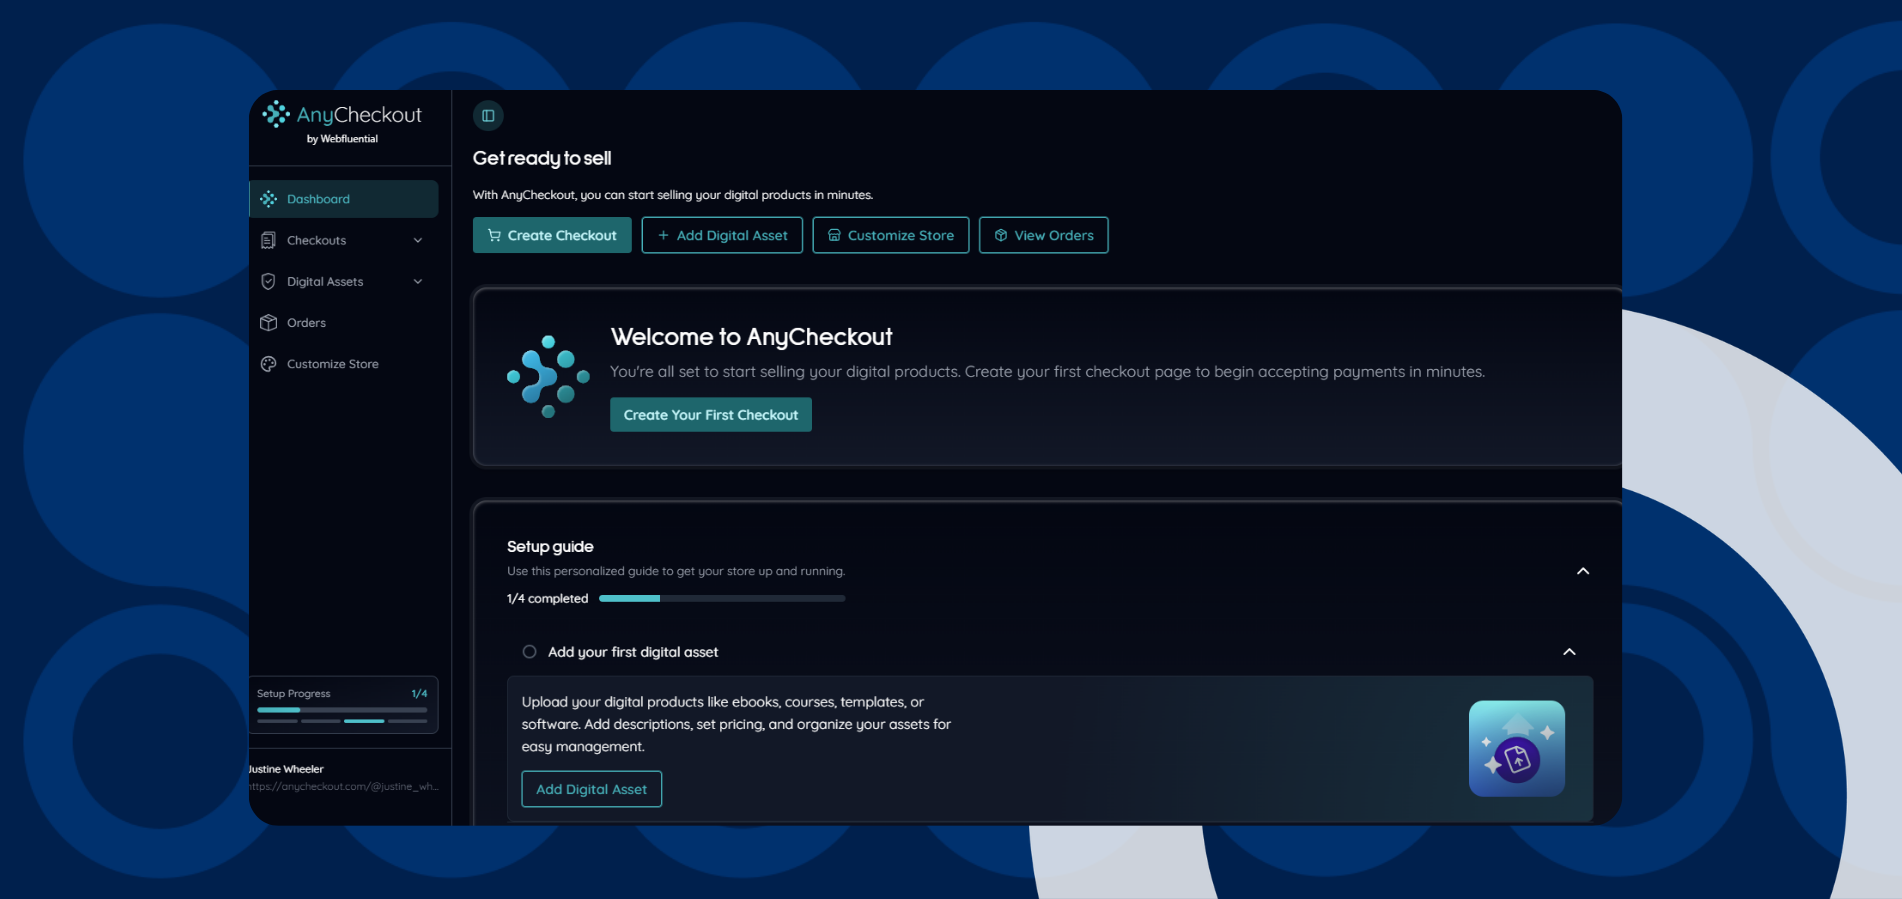
This is your control centre - everything starts here.
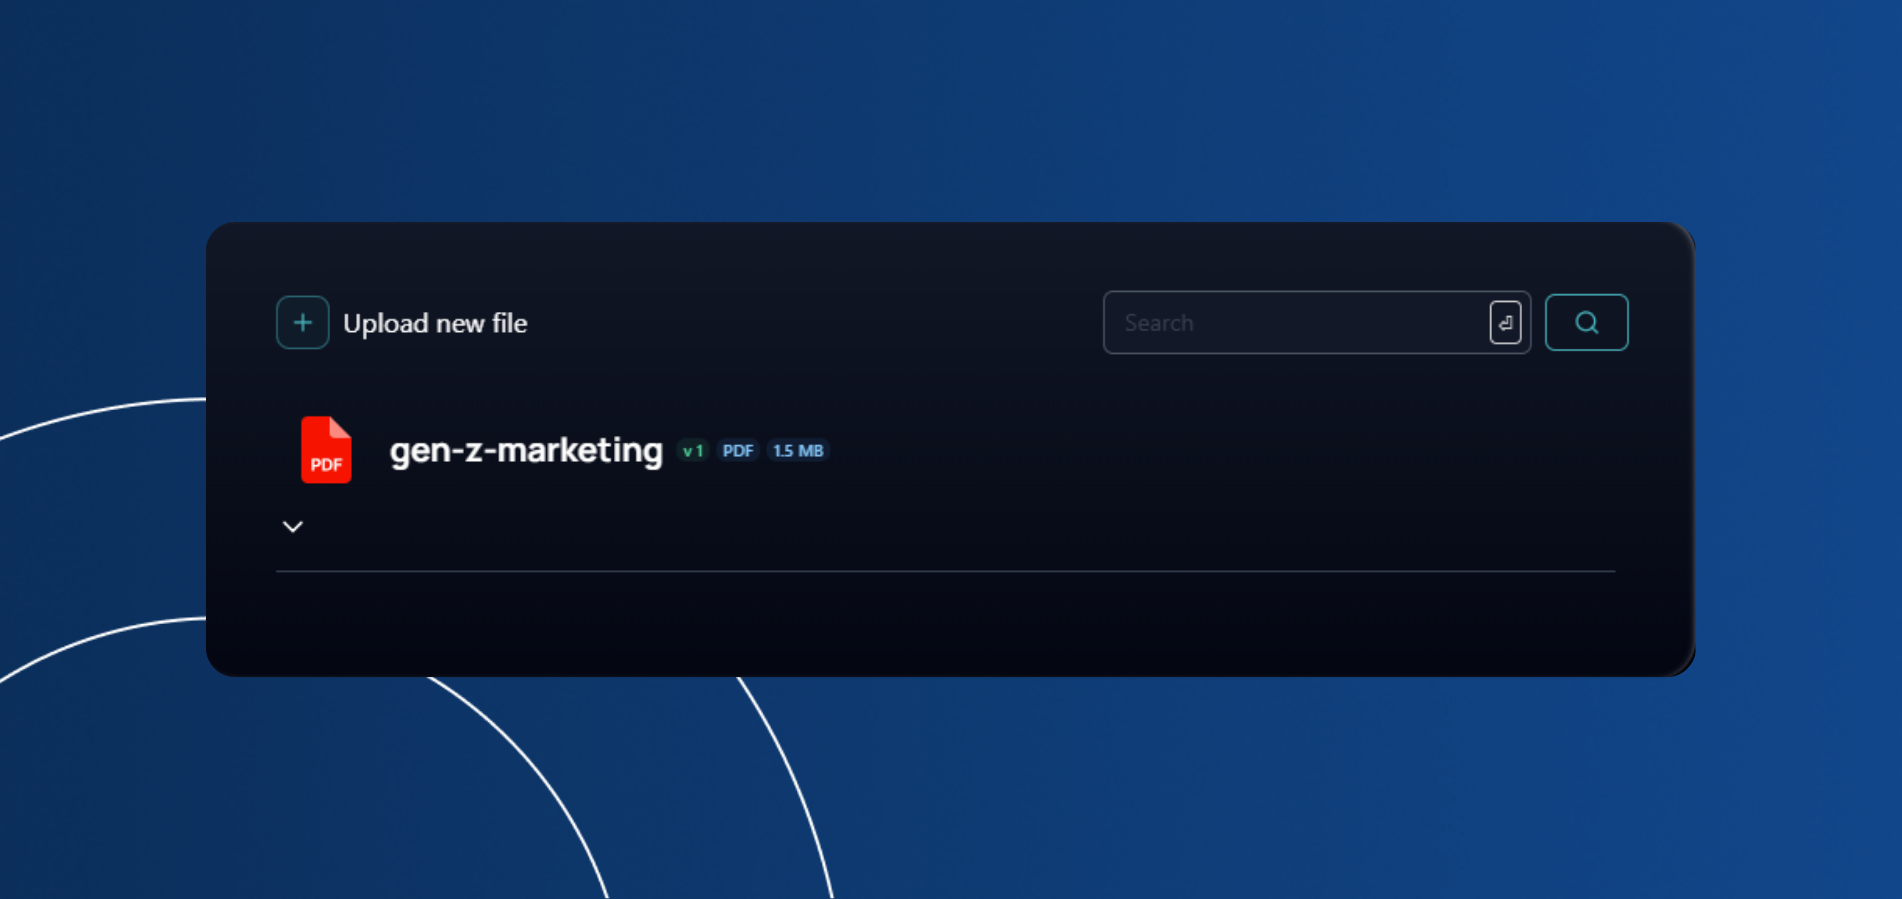
Step 3: Add your first Digital Asset
Before you can sell anything, you need something to sell.
Upload:
- eBooks
- Guides
- Templates
- Courses
- Downloads
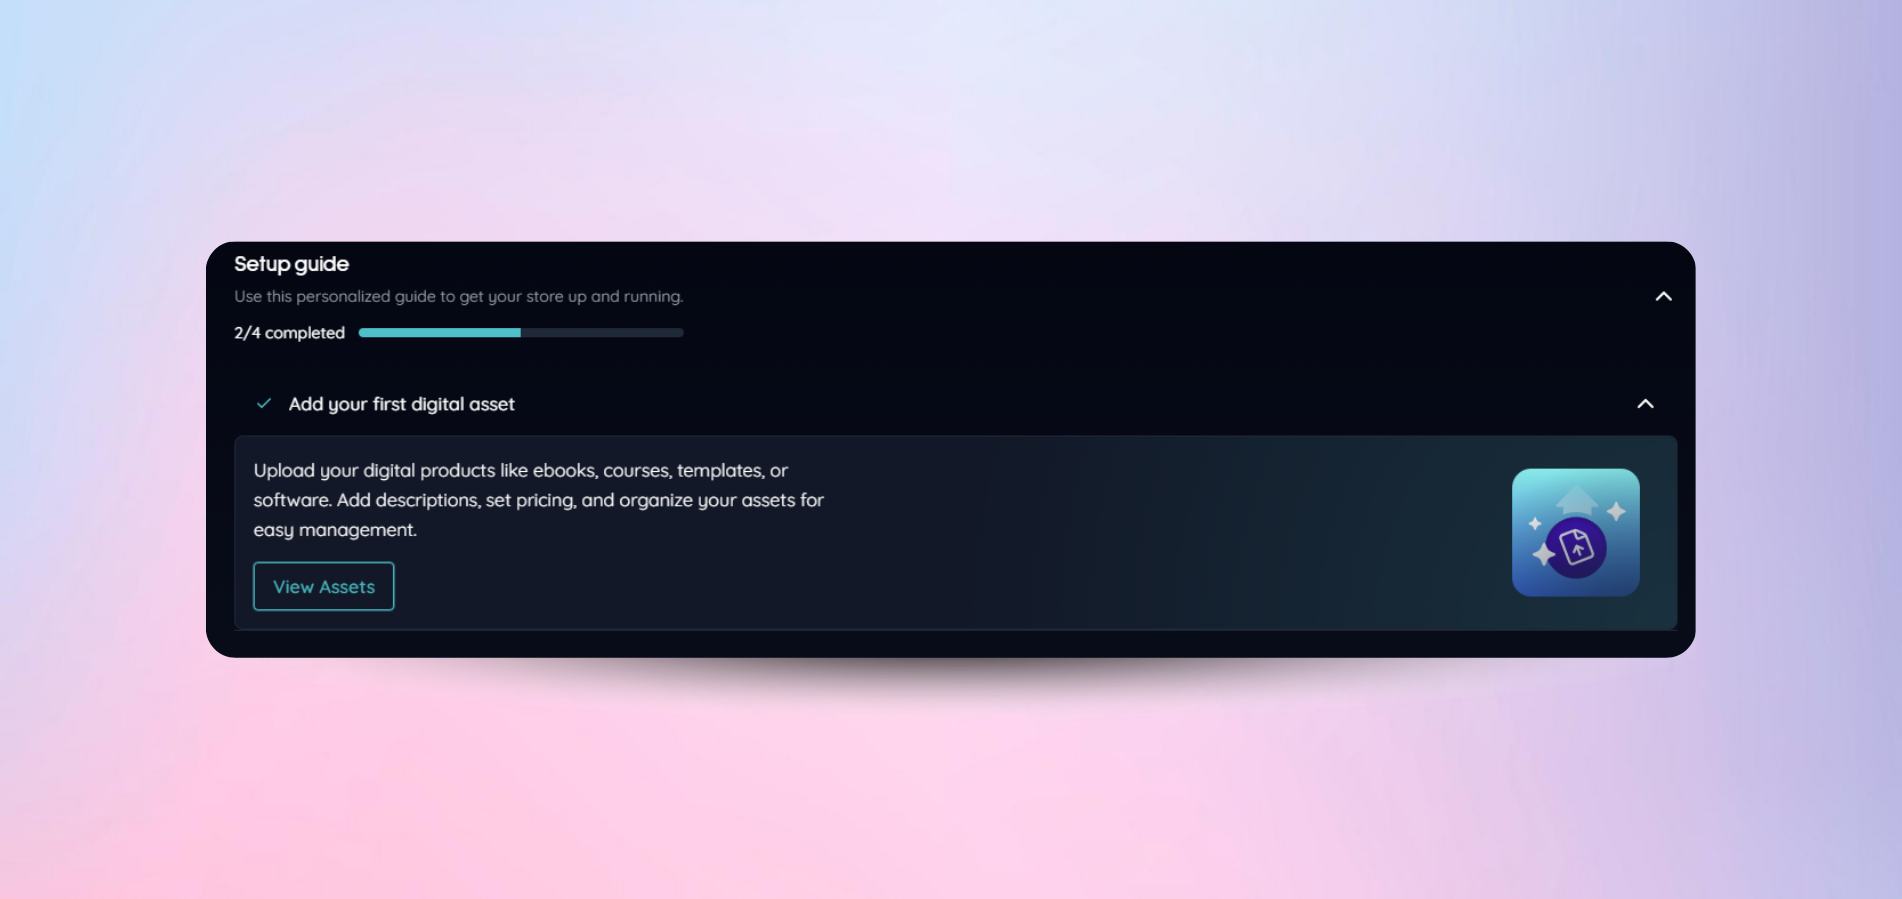
💡 Think: What do people already ask you for help with? That’s your first product.
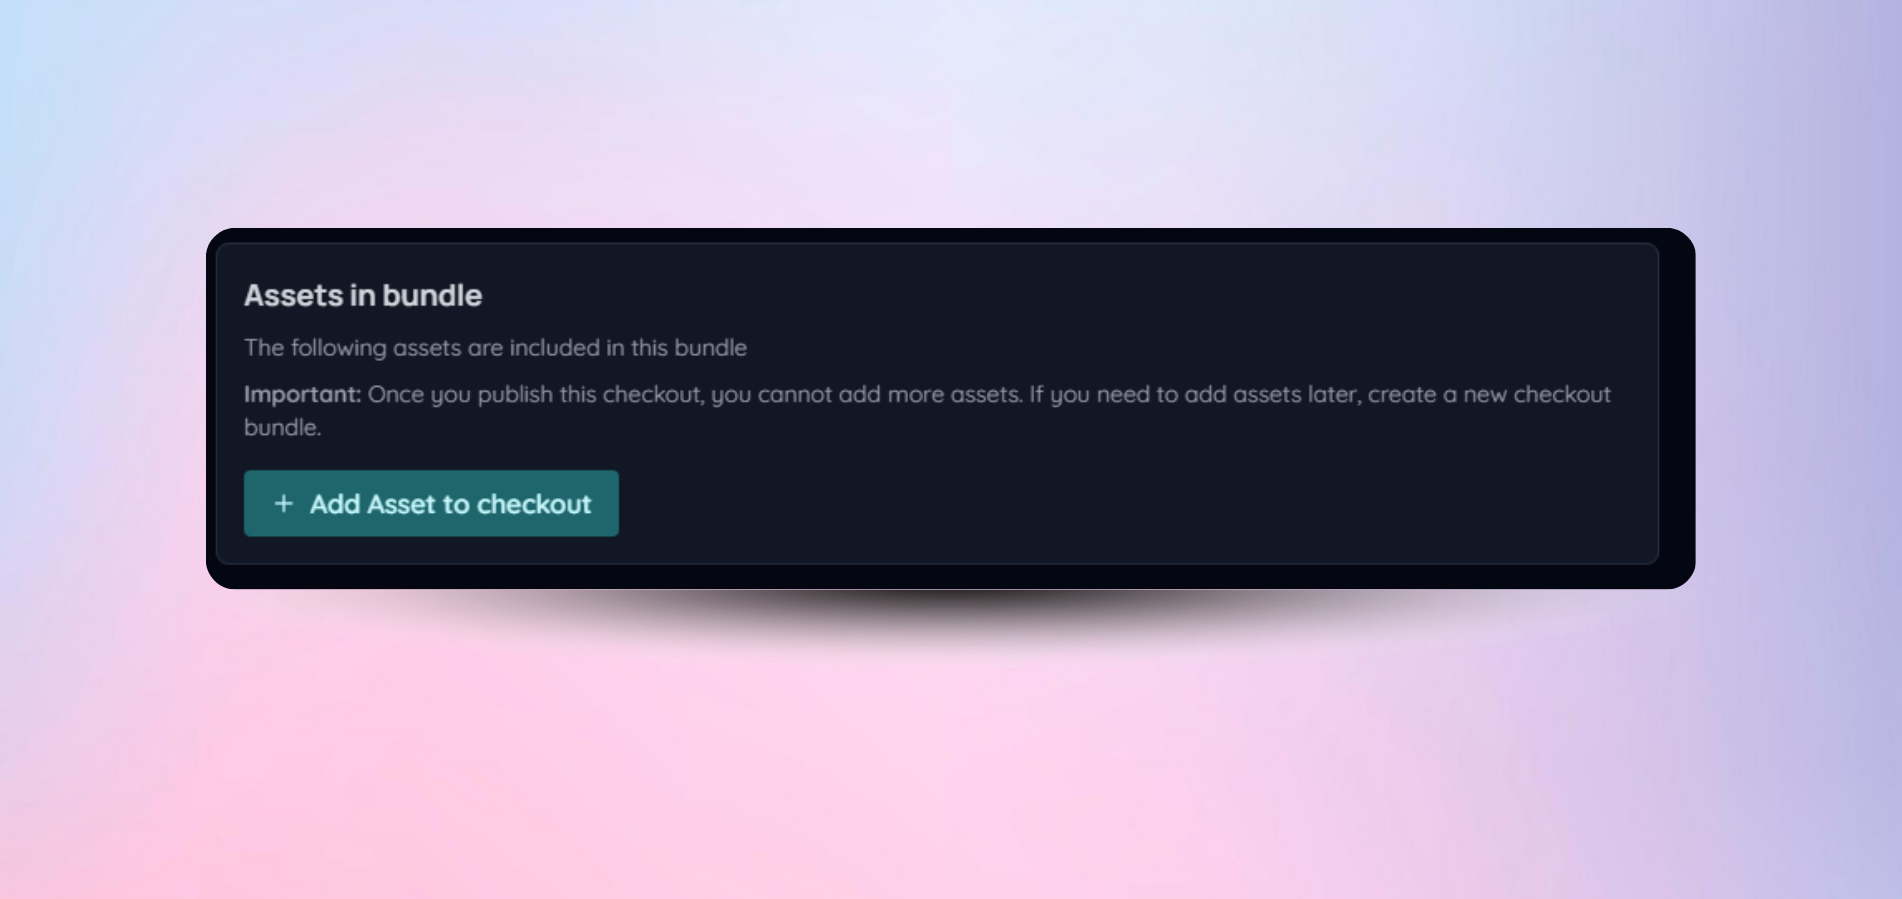
Step 4: Create your first checkout
Now, turn your product into something people can actually buy.
- Click “Create Checkout”
- Link your digital asset
- Set up your product structure
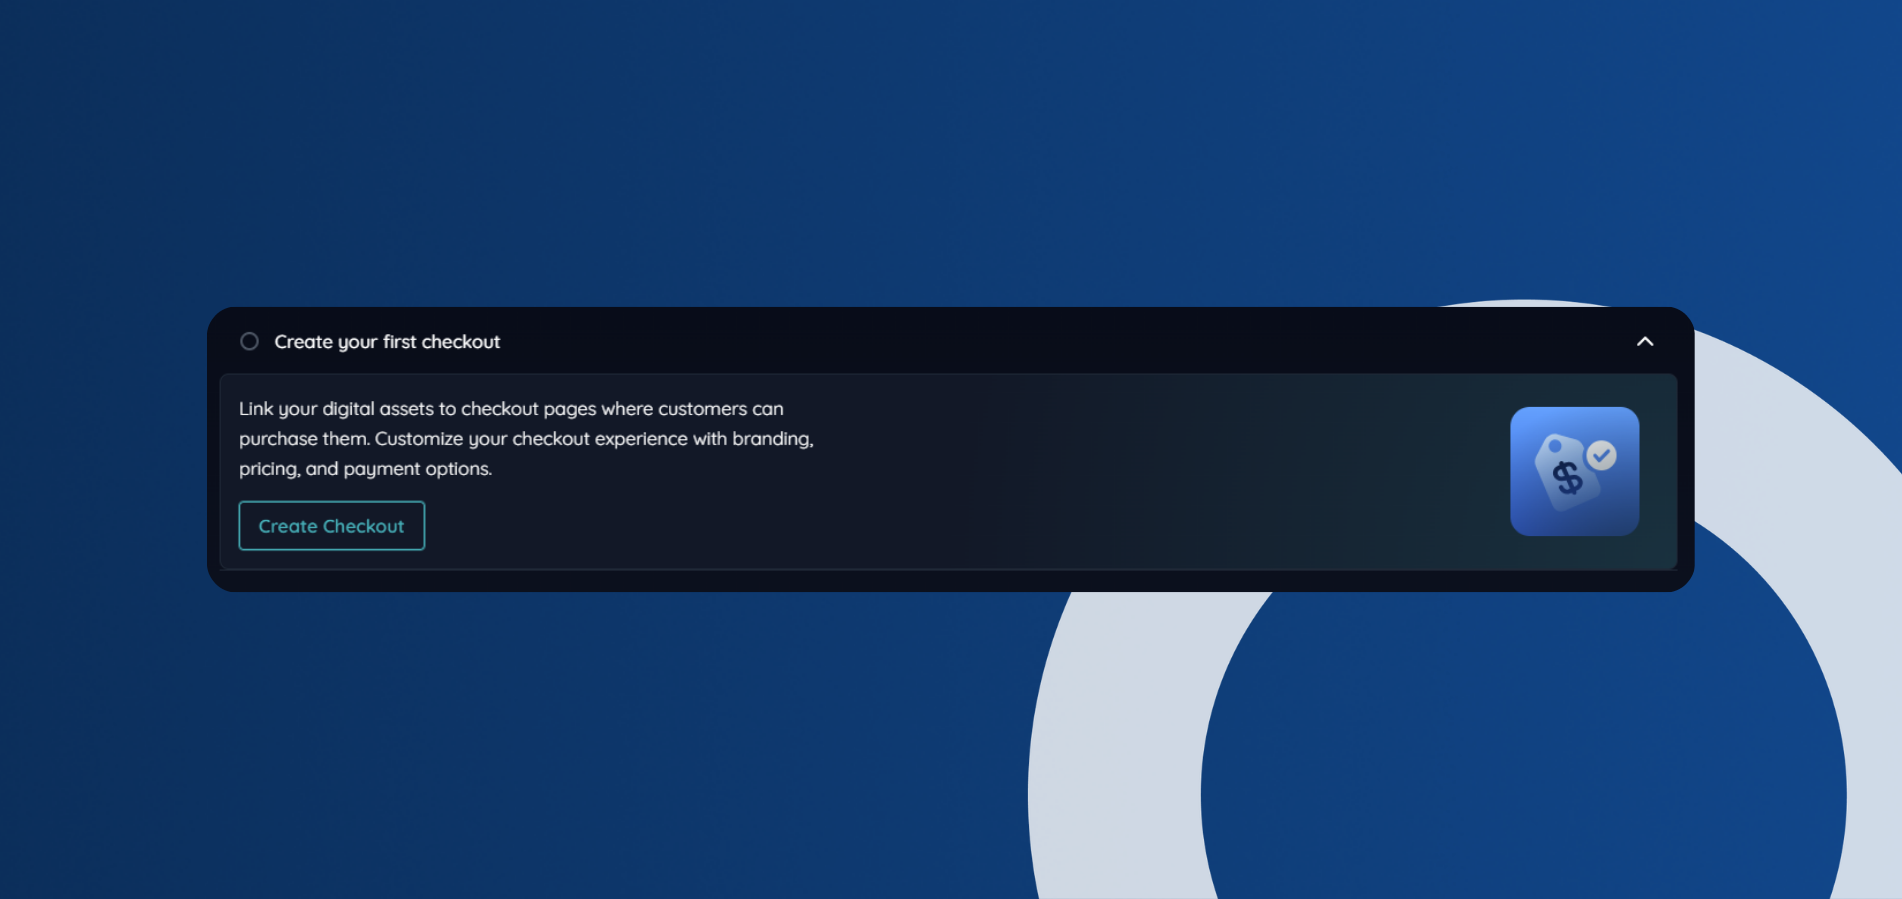
This is where your product becomes monetisable.
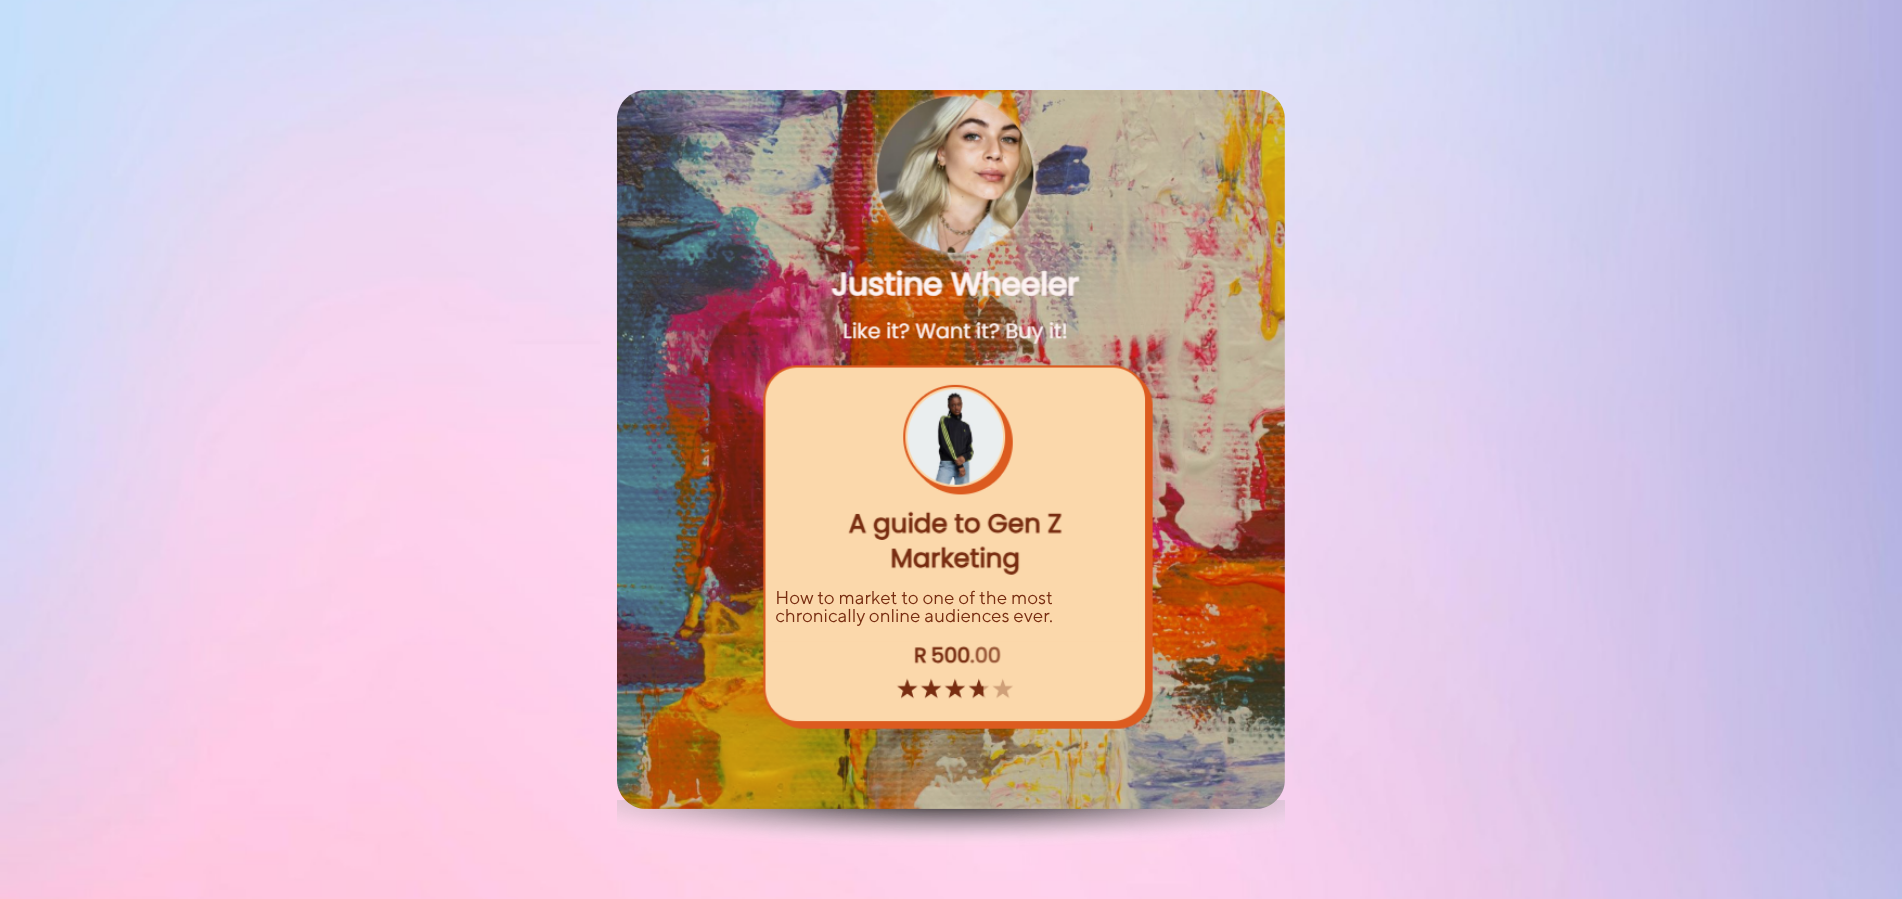
Step 5: Set up your product details
Now make it compelling 👇
- Title: Clear, benefit-driven
- Description: What they’ll learn/get
- Price: What it’s worth (not just what feels “safe”)
- Category: Helps discovery
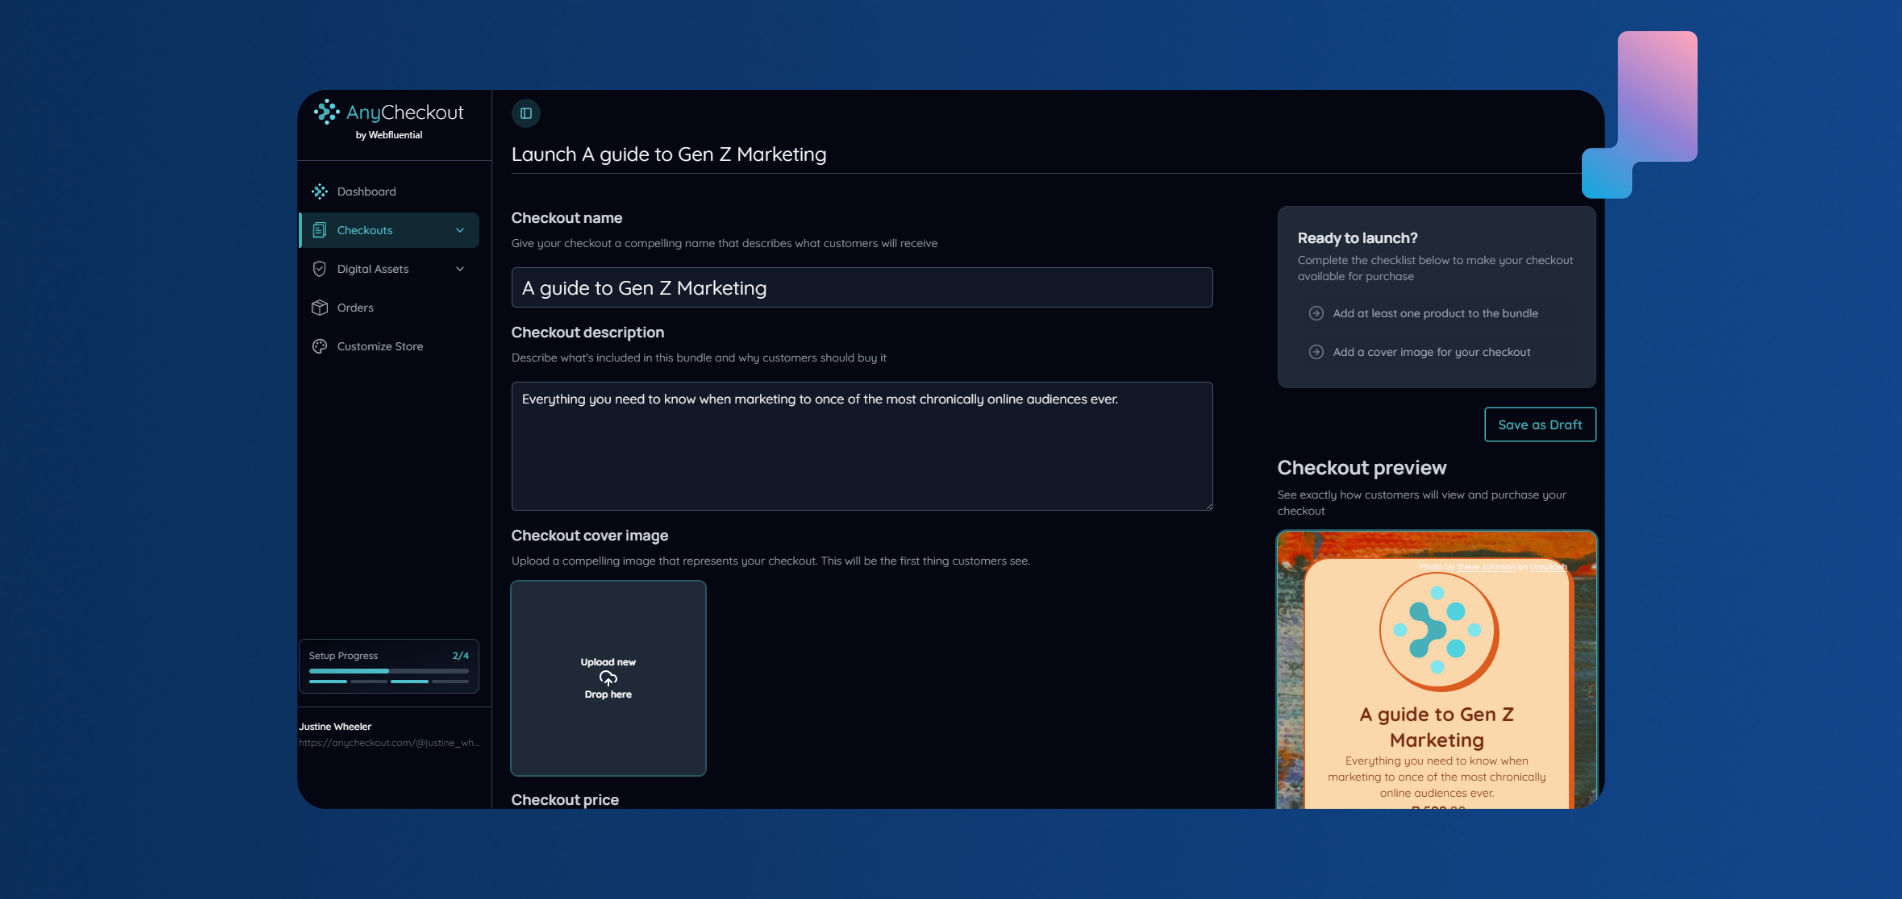
💡 Example:
- “A guide to Gen Z Marketing” → good
- “How to actually convert Gen Z into paying customers” → better
Step 6: Add a cover image and branding
Your product is judged in seconds, so make it count.
- Upload a clean, eye-catching image
- Keep it aligned with your personal brand
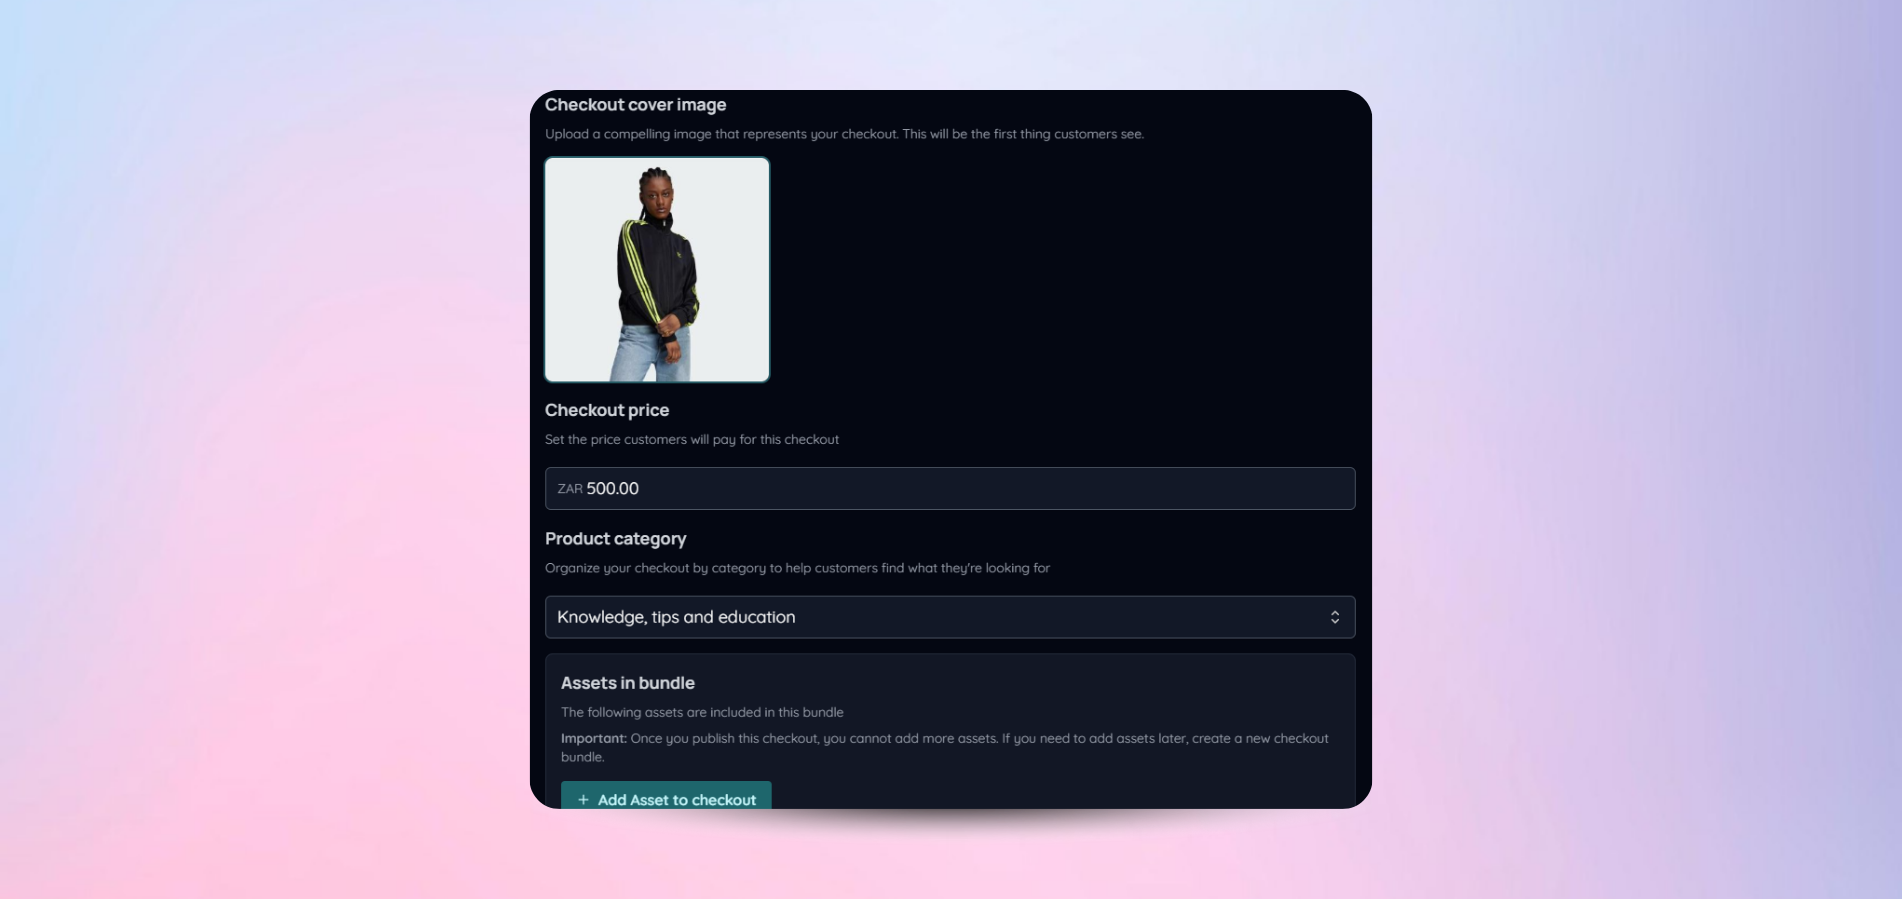
💡 This is your “scroll-stopper”.
Step 7: Preview your checkout
Before going live, check the experience:
- How it looks to customers
- Pricing display
- Messaging clarity
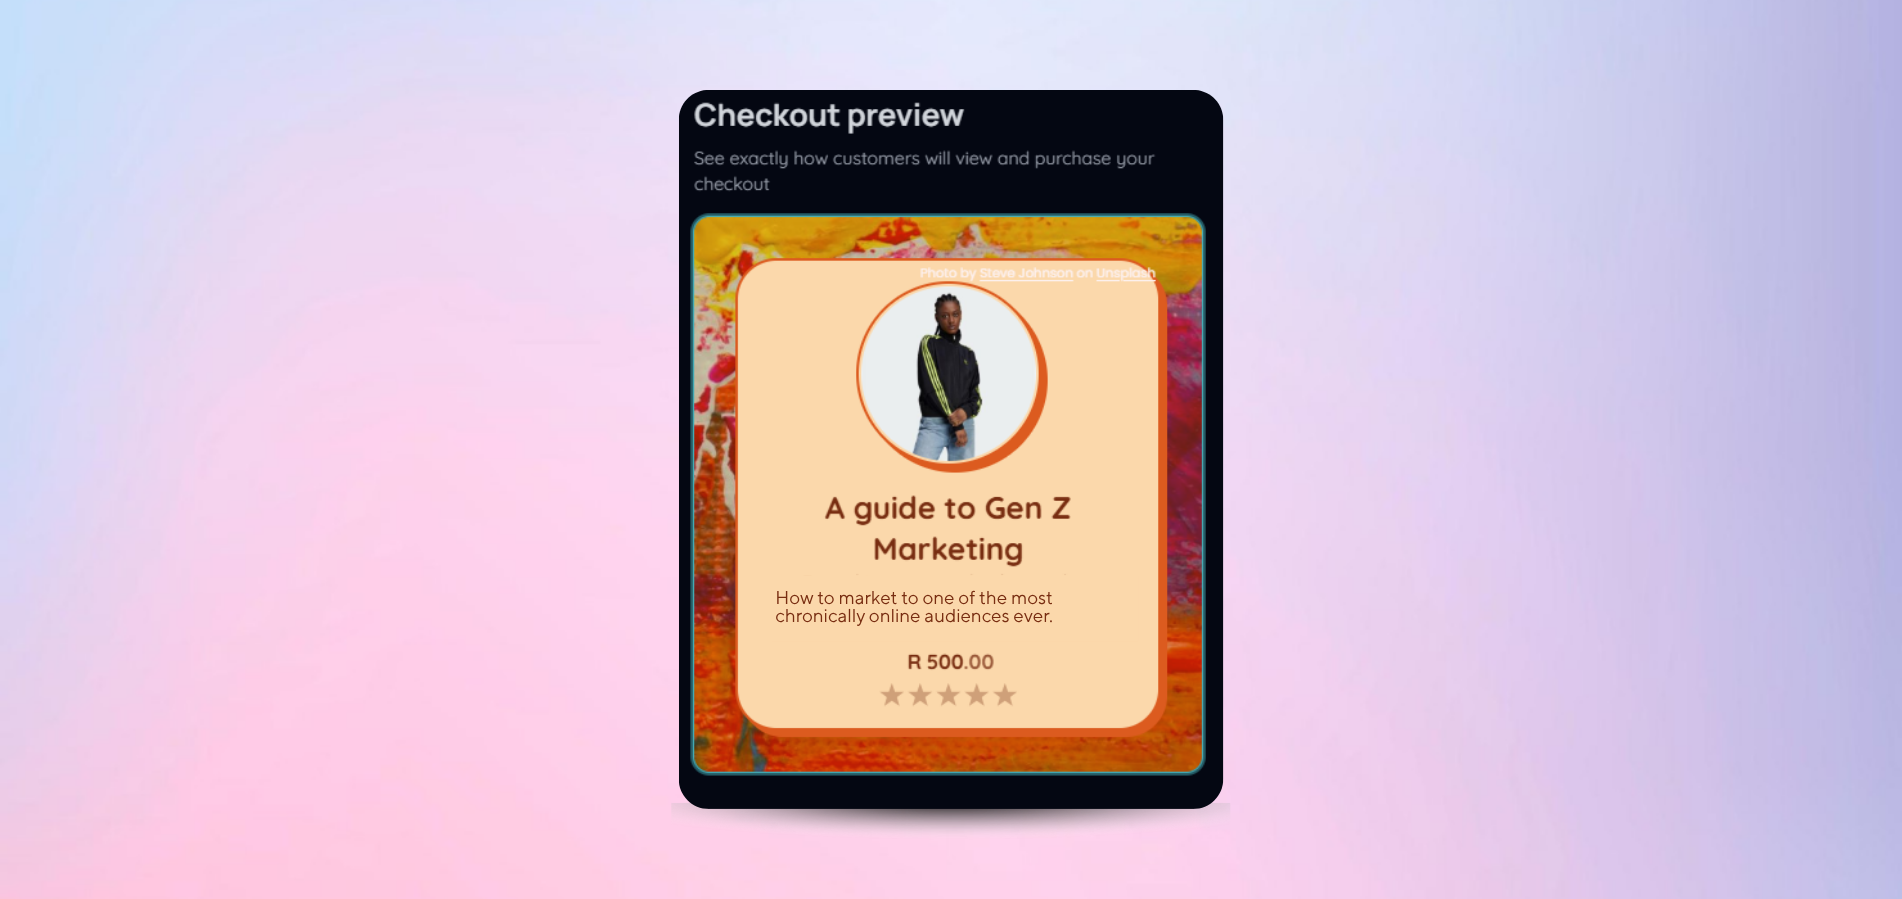
If you wouldn’t buy it at first glance - tweak it.
Step 8: Launch your product
Once everything is ready:
- Complete our checklist
- Hit "Launch Checkout"
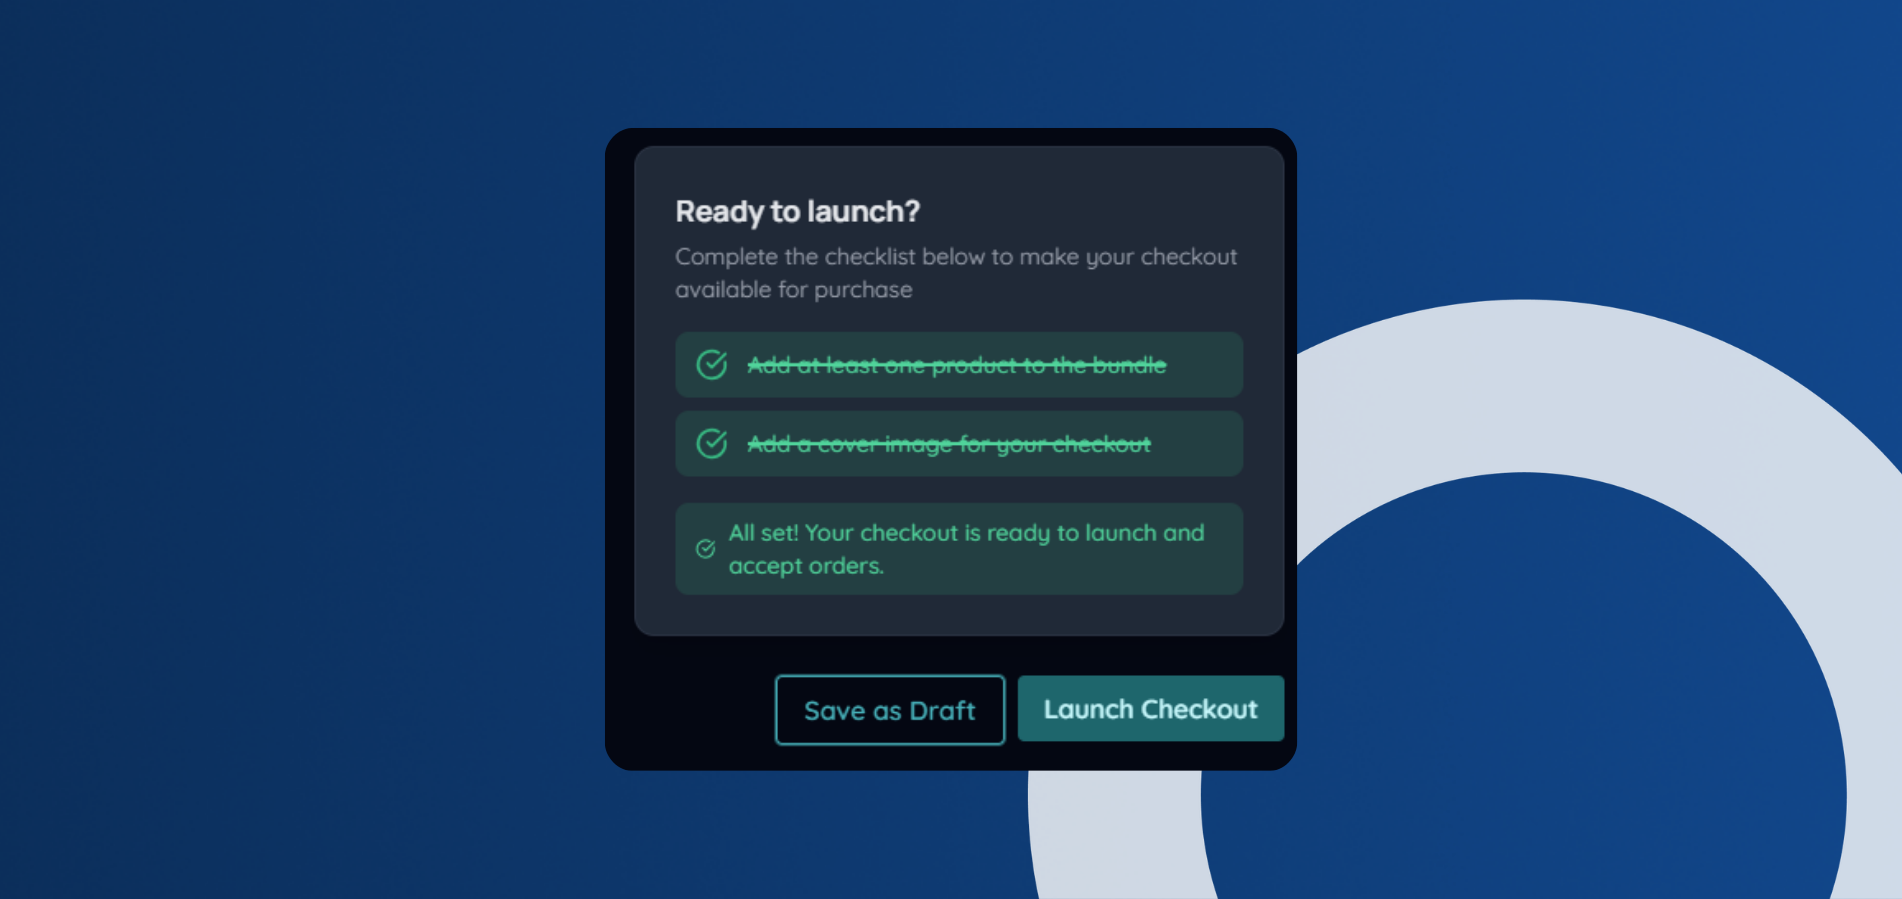
And just like that… you’re officially selling
Step 9: Share your Checkout
Now drive traffic and sales:
- Share via WhatsApp, LinkedIn, X, Email
- Drop your link in bios and content
- Use your QR code for quick access
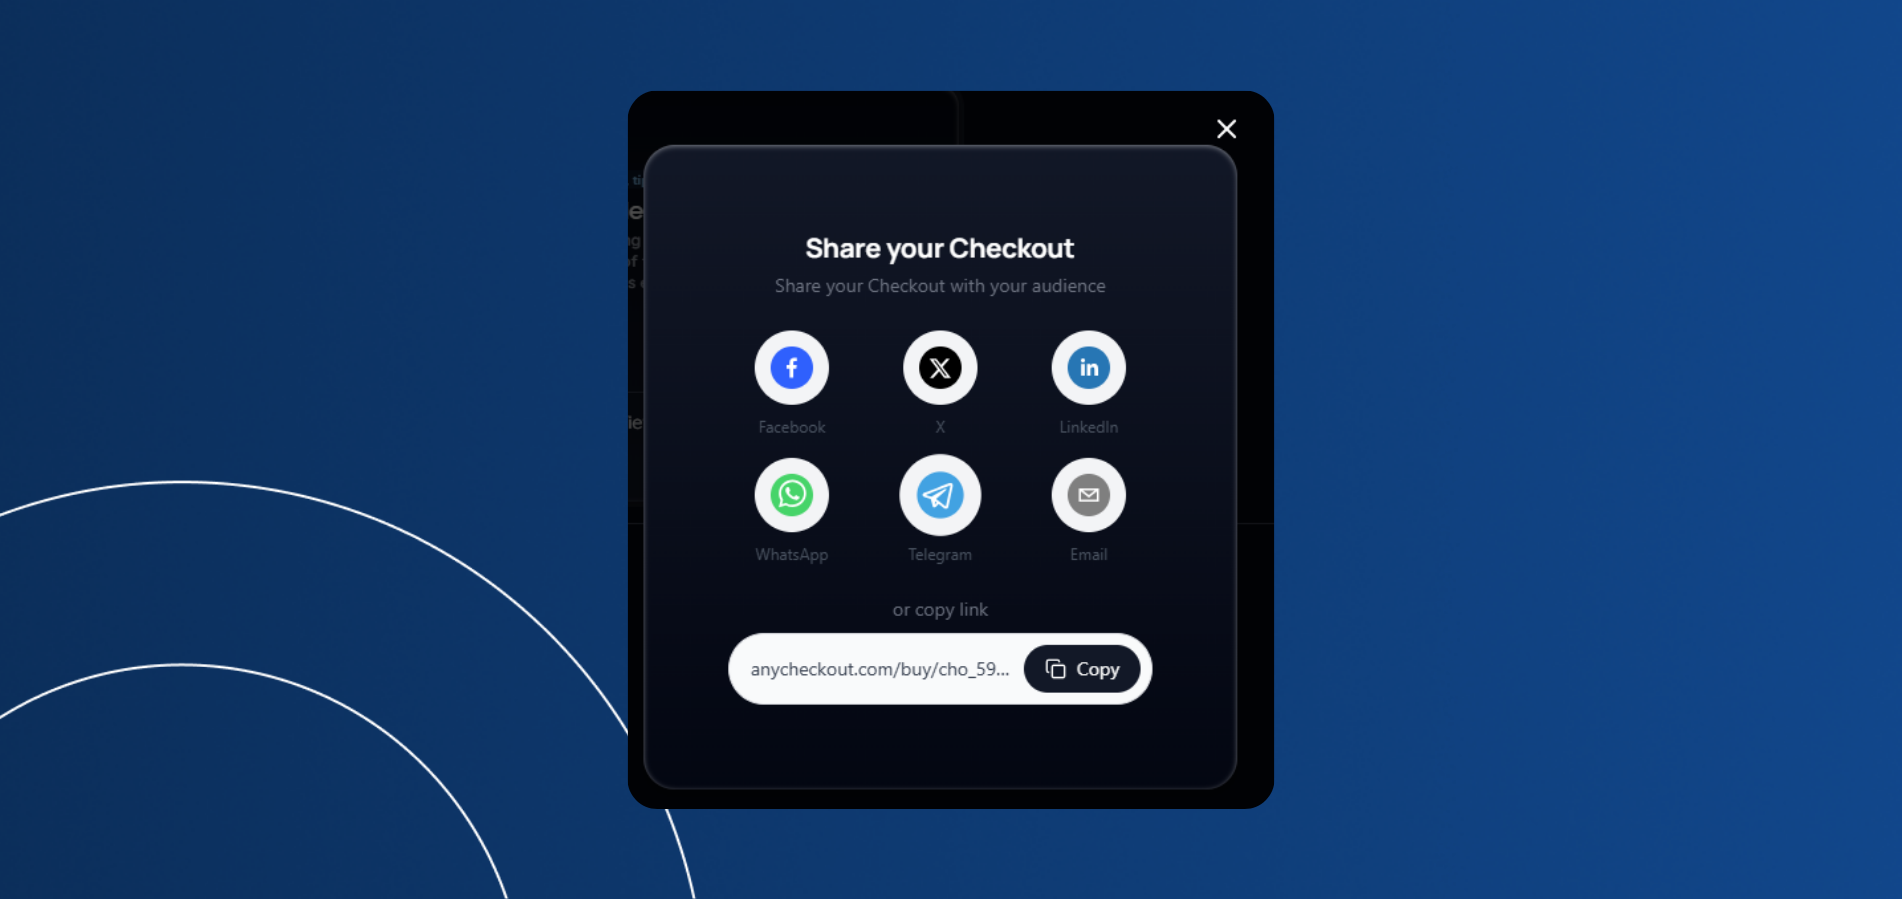
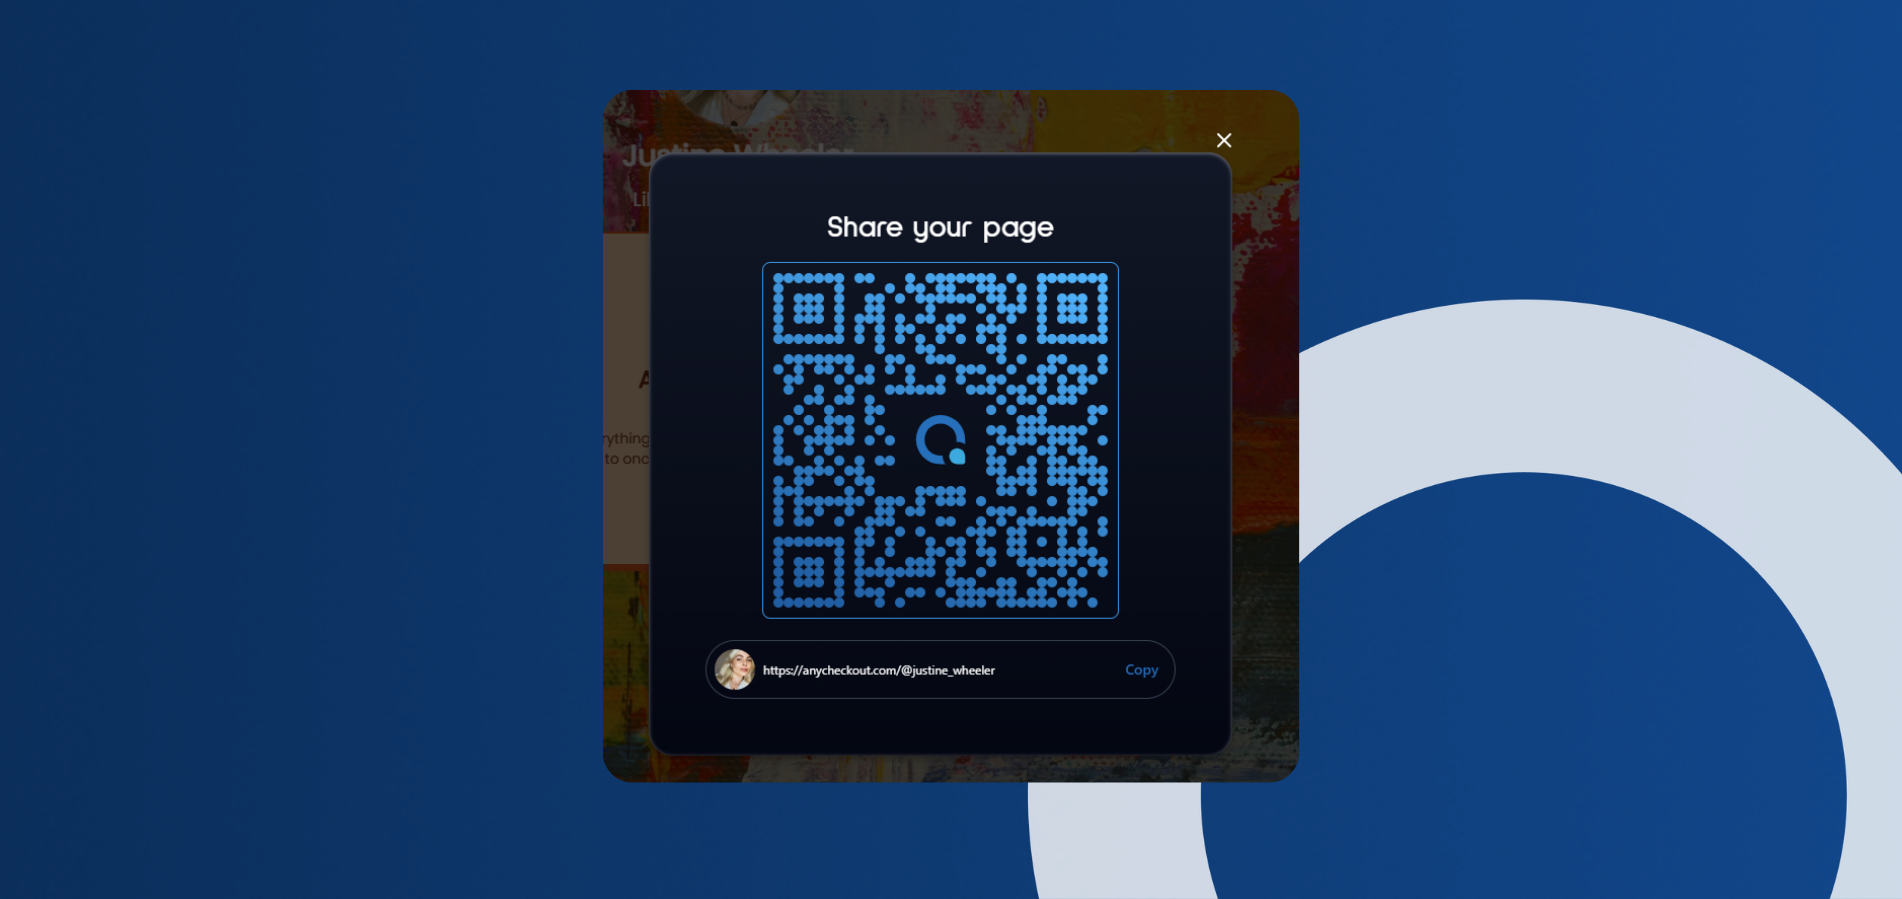
💡 No traffic = no sales, so promotion is everything.
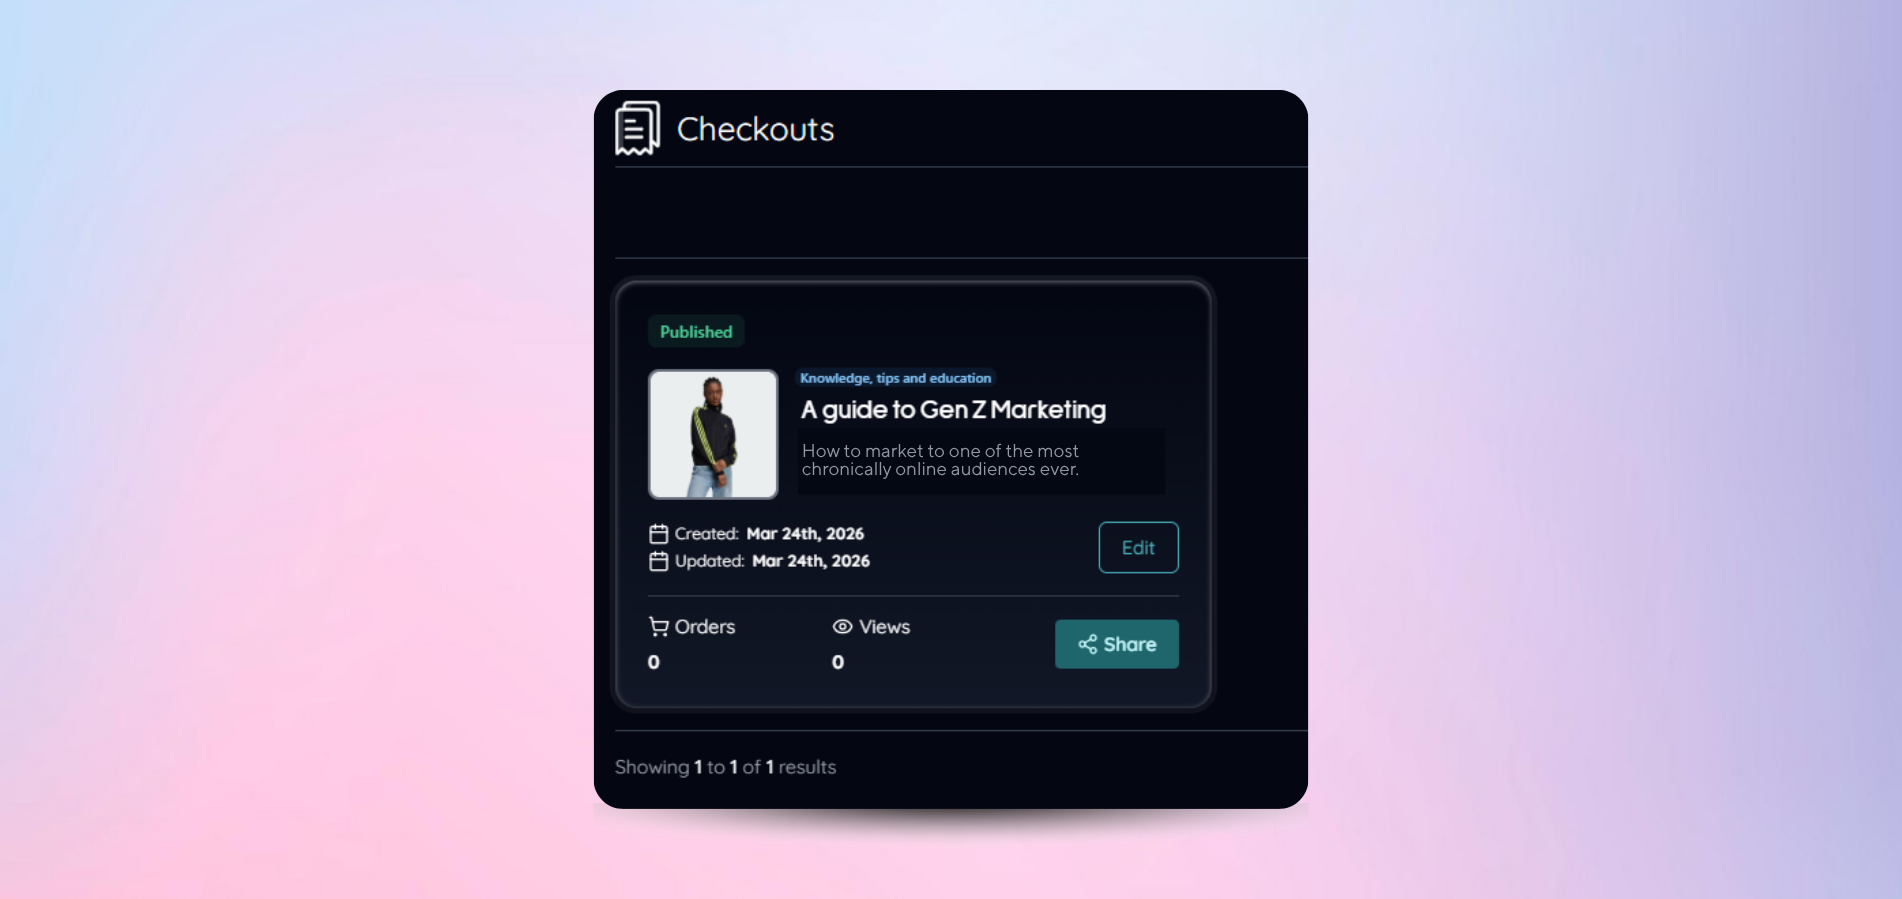
Step 10: Track your performance
Monitor your growth in real-time:
- Revenue
- Orders
- Store views
- Customer behaviour
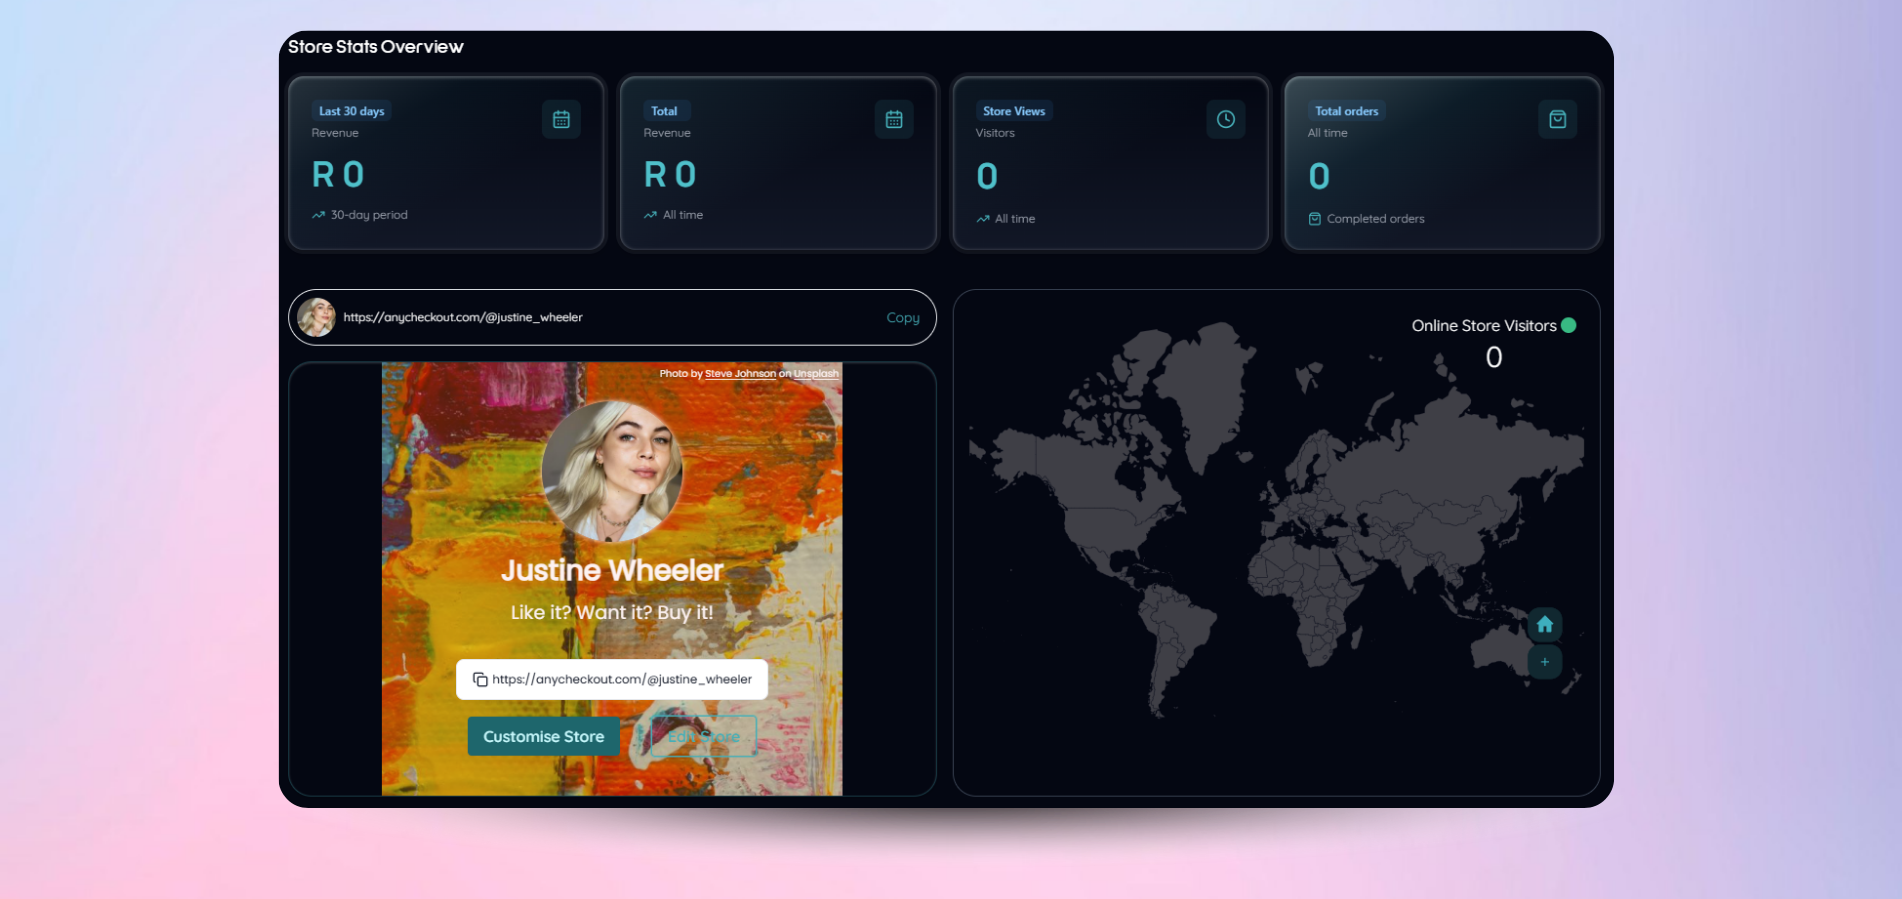
This is how you optimise and scale.
Step 11: Make your first sale
This is where it all comes together.
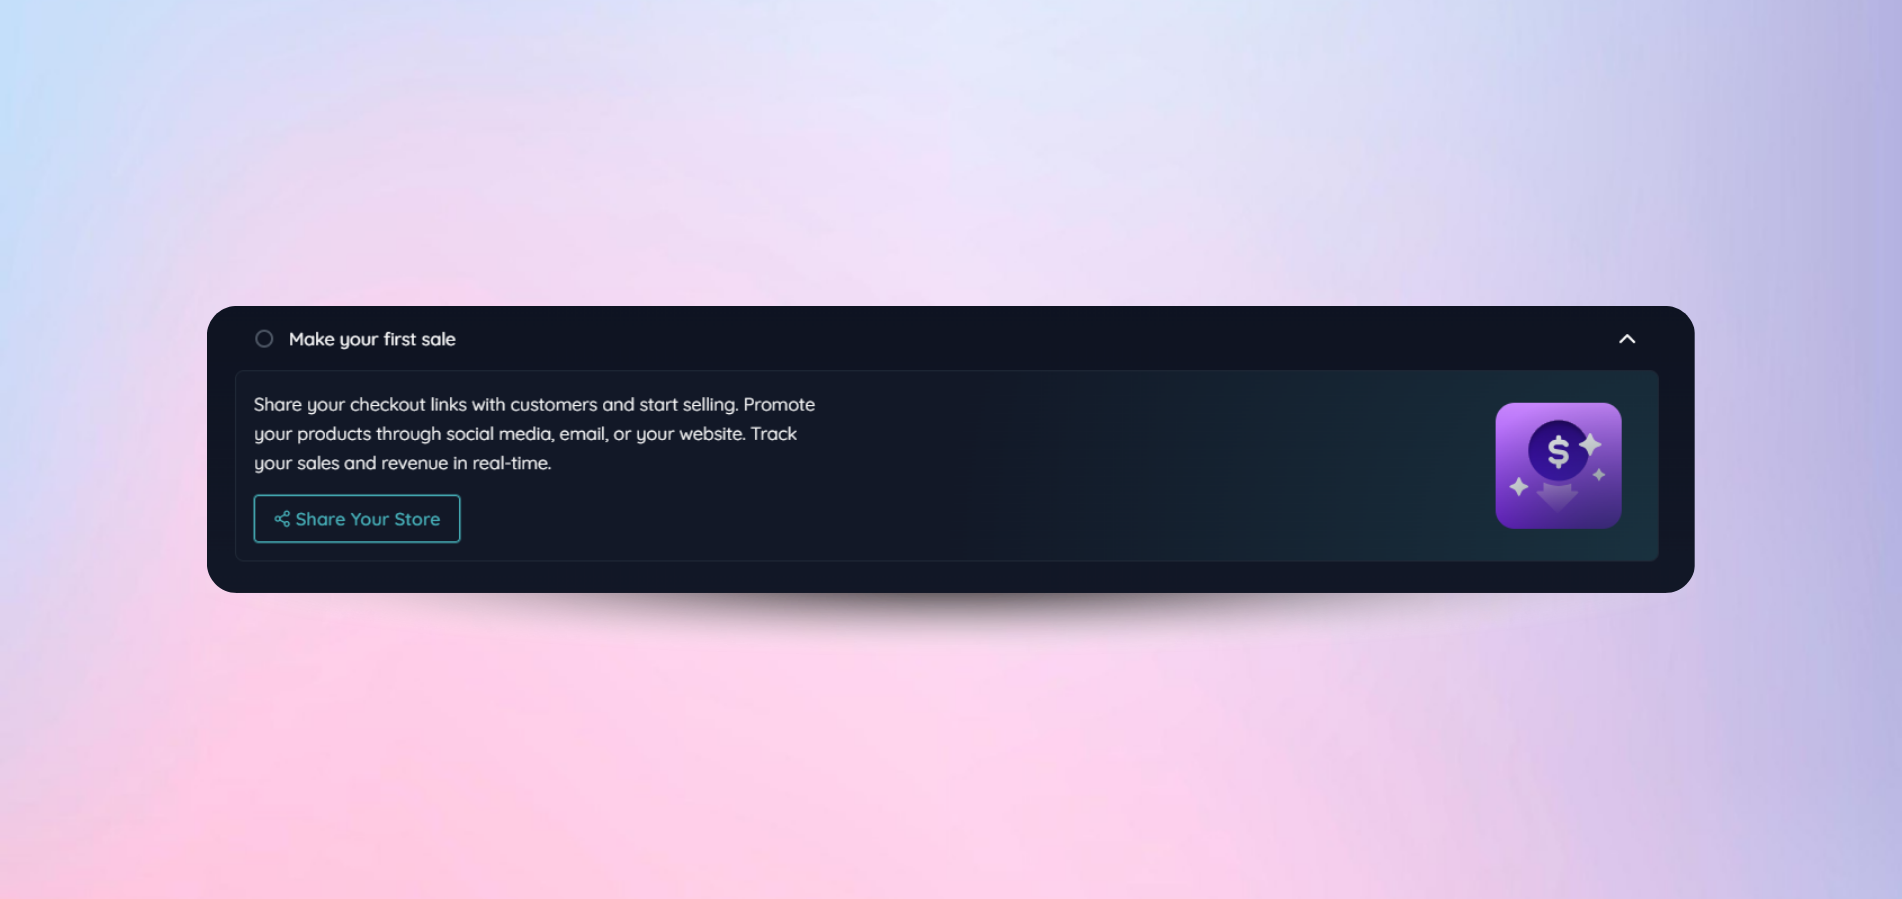
Your store is now:
- Live
- Shareable
- Revenue-generating
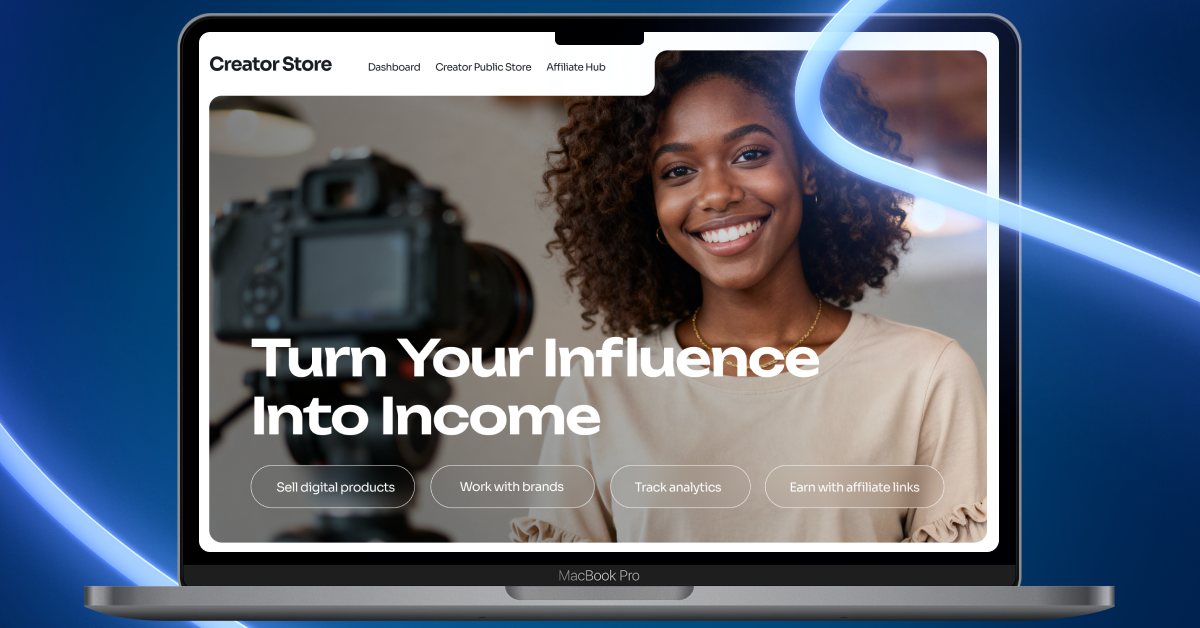
What your Creator Store looks like
Your audience sees a clean, mobile-first storefront designed to convert:
Join Webfluential and start growing your business
From micro enterprises to Fortune 500 companies, brands from over 130 countries have booked influencers on Webfluential.